Disclosure: We may get commissions for purchases made through links in this post.
Are you curious about the process of anchoring a shed to pavers? Very well, it is a wise idea that you checked this post since we already have the answer to that topic. We have asked experts for the steps and some pieces of advice, on your behalf.
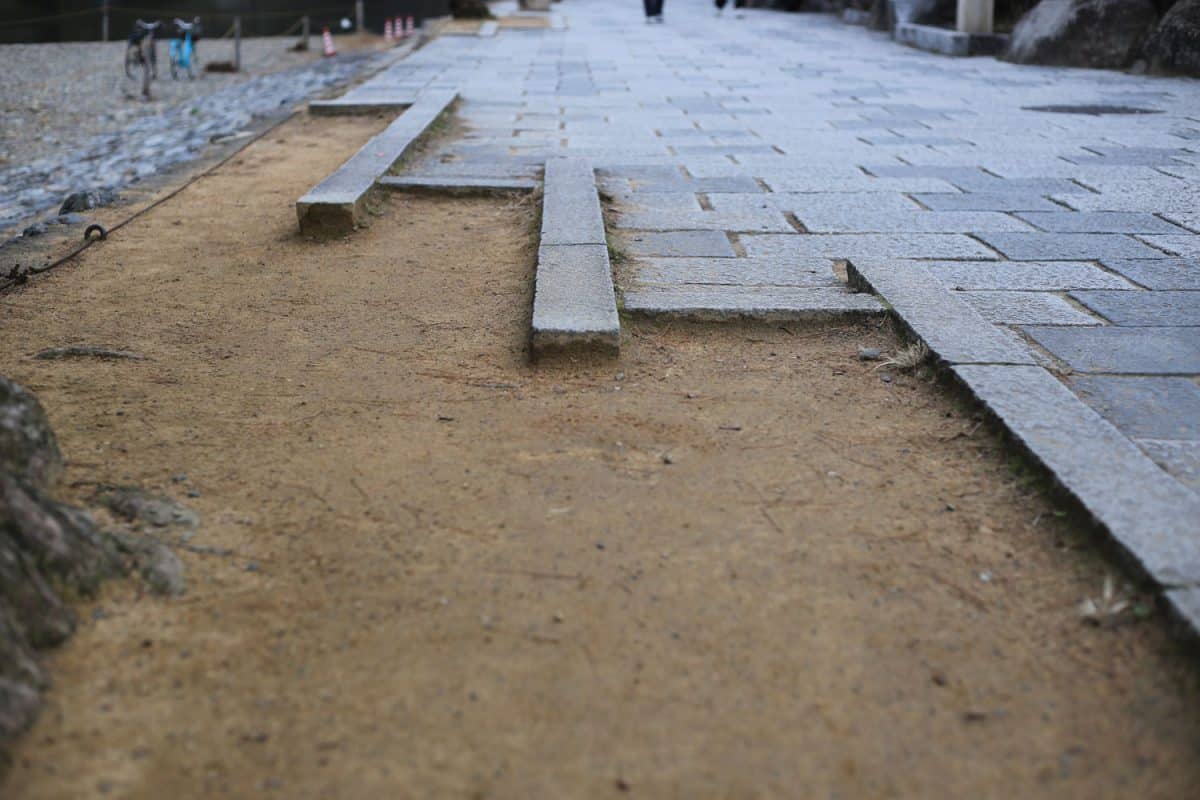
To anchor a shed to pavers, you must:
- Mark out the area using a string line. And remove any turf in the area with a depth of one-thousandth of an inch.
- Lay the crushed stone and gravel for the base. Use timber to lay it evenly and check it using a spirit level.
- Put a dry mix of sand and cement: nine parts of sand to one part of cement.
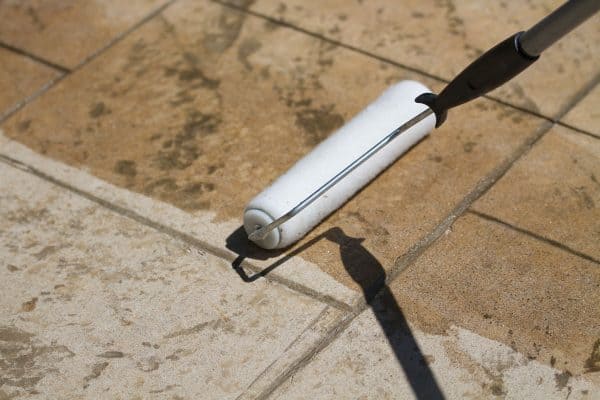
- After laying the dry mix, put down the paver flags on top of it. Lay them nice and flat using a sledgehammer.
- The last step would be getting more dry mix of sand and cement to fill all the gaps, and brush the mixture into the joints.
We gathered a lot of options from experts, with the above-mentioned steps too, of course! We suggest you keep reading to know all the alternatives for the shed foundation. Come and let's delve into the details!
How To Properly Anchor A Shed?
Read this section if you want to firmly hold your shed in place using concrete piers and slabs. We will provide the most straightforward steps possible for you to be able to do it.
How To Anchor A Shed To Concrete Piers
- Drill and dig the holes and fill them with gravel and tamp it.
- Insert a sonotube in to shape it.
- Level it to a suitable height and fill it up with concrete.
- Before the concrete hardens, instal a galvanized anchor bracket.
- Level and align the brackets. After that, you are all set to attach your shed.
How To Anchor A Shed To Concrete Slab
There are two options we can do here. Either to anchor to new construction or an existing one:
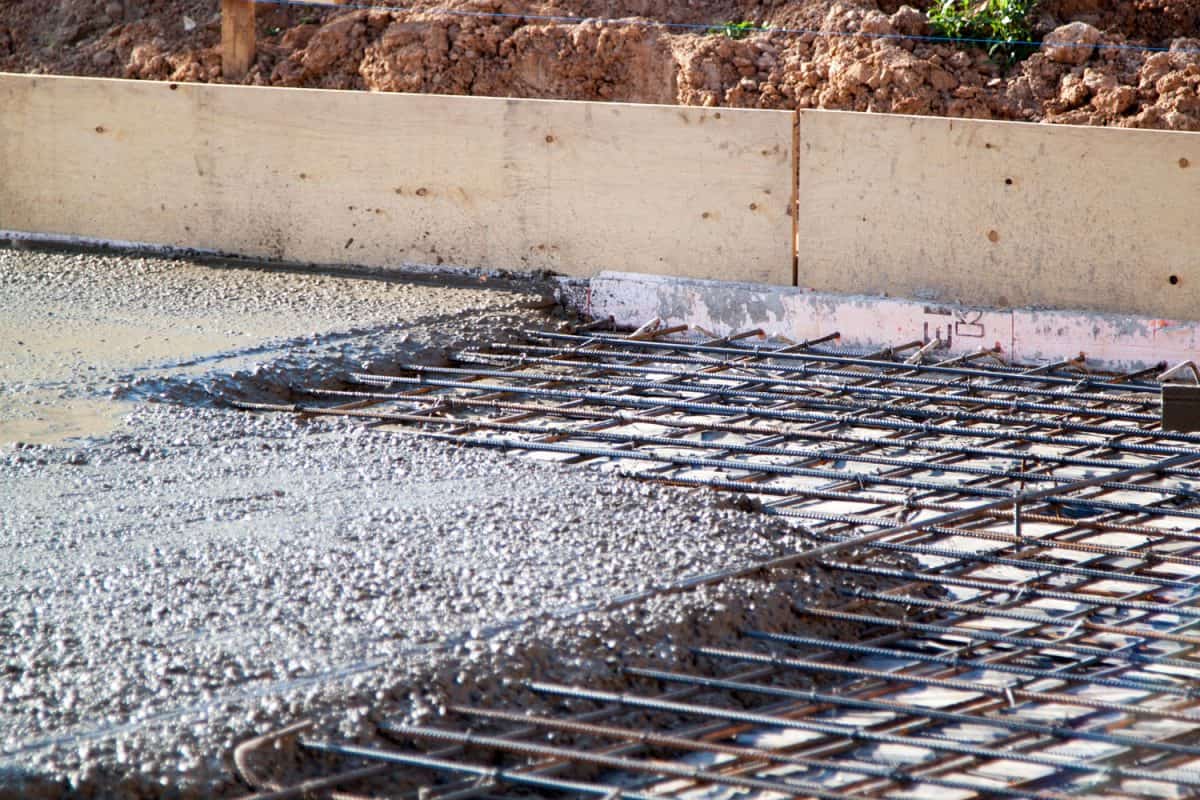
New Construction
If you plan to install a new shed, a concrete slab is an excellent foundation and an ideal way to anchor your woodshed to the ground. It can offer a solid floor and ground-level pass to your shed for heavy equipment. Take note that the slab is the exact dimensions of your outbuilding perimeter.
The perimeter of the slab is denser by eight inches and serves as a base to support the weight of the roof and walls better.
Step 1
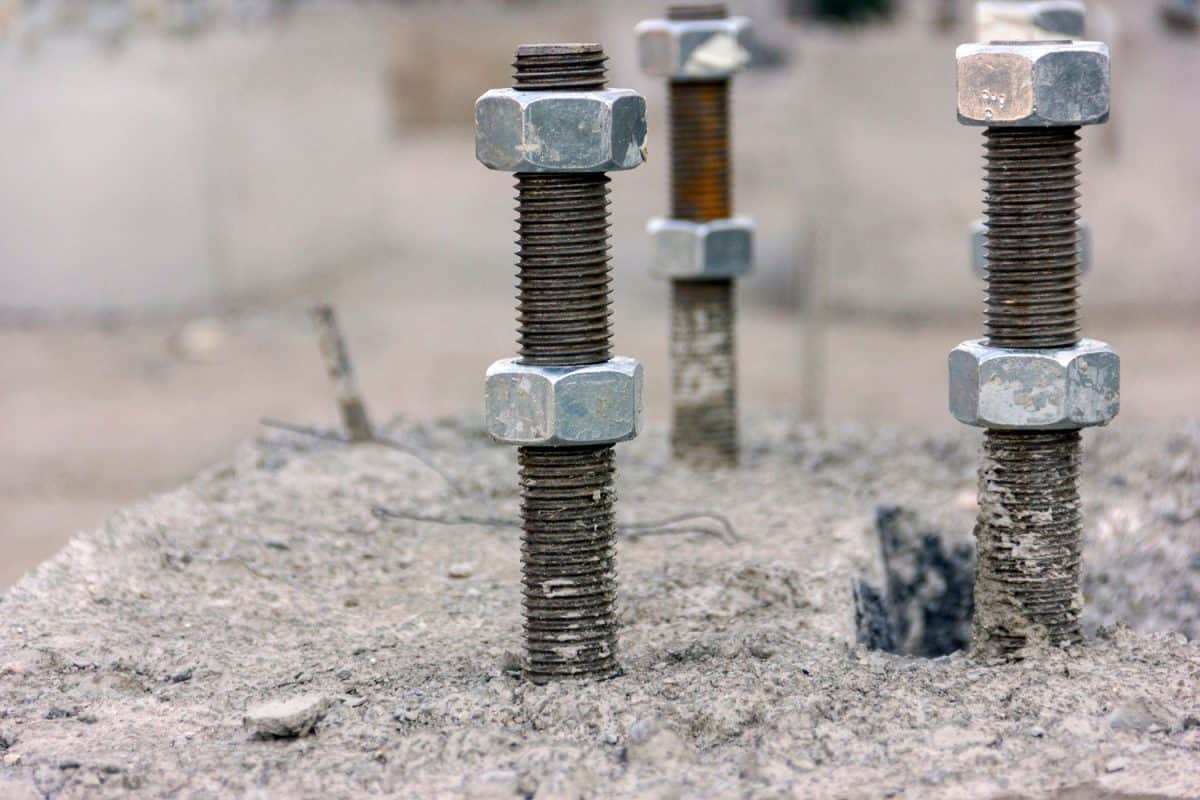
Before the concrete cures, install 1/2x6 galvanized anchor bolts (L or J bolts) into its perimeter. Ensure that the bolt is high enough off the ground to pass through the plate and provide room for the nut and washer. The bolt must be 12 inches or less from the corner and not exceeding six feet apart on the sill plate or bottom. Once you let the concrete cure, the anchors are permanent.

![]()
Check this galvanized anchor bolt on Amazon.
Step 2
You will need to layout the sill plate or bottom, marking where you should drill the holes for the bolts.
Step 3
Put down the sill gasket, rubber, or plastic to prevent the wood from directly contacting the concrete before fastening the plate to the slab. Doing so will minimize water damage and rotting. On the other hand, you can use pressure-treated lumber or run a polyurethane caulking around the perimeter before fastening the plate. You can even combine all those three if you want to since some builders do such a thing.

![]()
Check this sill gasket on Amazon.
Step 4
Tighten the nuts using a socket wrench after placing washers and nuts. Sheathing should exceed the concrete by two inches and have three inches of clearance from the ground once the stud walls are established. To avoid water damage and rot, make sure the earth slopes away from the foundation.
Existing Concrete Slab
You should place the anchors not exceeding six feet apart on the wall plate and within 12 inches of the corners. And you can determine the positioning of holes at the corners by the type of anchor you are using. Moreover, you will have to leave a space for a double or triple stud corner if it is just a concrete expansion anchor. But take note to not exceed for more than 12 inches outside the corner.
If you'd plan to use hold-downs with the anchors, you will have to make the holes closer to the corner studs. Plus, it would help modify the hole depth to have enough bolts overhead the bottom plate to move past the hold down and the nut and washer.

![]()
Check this hold downs on Amazon.
Step 1
You will need to mark the concrete for a pattern where the 1/2x7 concrete expansion will proceed.
Step 2
Make a hole that has the same size as the anchor bolt diameter using a hammer drill with a half-inch concrete bit. Place the drill guide for the hole depth or insert a tape on the bit as a depth guide; approximately four and a half inches to five inches deep if you are not utilizing a hold-down.
You don't want your anchor on an angle, so keep the drill perpendicular to the concrete.
Step 3
Once you finish drilling the holes, clean them out using a hole brush or a vacuum.
Step 4
To protect the threads, thread the nut to the top of the anchor and hammer it into the hole until it reaches the bottom.
Step 5
Before you position the plate and wall on the anchors, you need to roll out the sill gasket to keep the wood from resting on the concrete. Also, it will protect the wood from water damage.
Step 6
Drill holes in the evenly spaced plate, and place the wall on top of the anchors.
Step 7
Place the washer and nut in place and tighten them using a wrench. As you tighten the nut to connect the plate, the bottom of the bolt in the concrete expands and grips, securing the shed.
Other Shed Foundation Options - Including Pros And Cons
Check these shed foundation options and find out what foundation will perfectly suit your shed through its pros and cons.
1. Skid Foundation
We don't recommend placing shed skids or any wood shed foundation straight onto the ground. It would be best to build the bottom of the shed on a secondary foundation, such as gravel or concrete.
Pros
- Undemanding to install
- Inexpensive
- Most prefabricated sheds come with this by default
Cons
- Positioning skids straight to the ground can result in rotting or sinking overtime
- It requires supplementary material such as gravel
- Technically, shed skid foundations do not establish a foundation
2. Metal Kit Foundation
It is only a choice for a small subset of sheds, and it only functions with sheds from the exact manufacturer.
Pros
- Cheap
- Has a simple design
Cons
- You can't install it on sites with slopes
- Not frost-proof
- Has durability and quality issues
- Only available as an add-on for some shed models and brands
- Can sink overtime if you place it straight on soil or lawn.
3. Metal Jacks
We don't recommend using this as foundations for large sheds.
Pros
- Extremely easy to establish
- Excellent for small DIY sheds
Cons
- Not suitable for large sheds
- Not frost-proof
- You can't use this for sites wwith more than 6" off level
4. Concrete Blocks
It is the most popular shed foundation worldwide.
Pros
- Easy to install, even on a slope
- Cheap
Cons
- Makes it difficult to anchor
- Doesn't provide equal support to all shed parts
- Makes door access more inconvenient
- Not suitable for frost-prone areas
- May void some warranties of prefabricate sheds
5. Plastic Grid
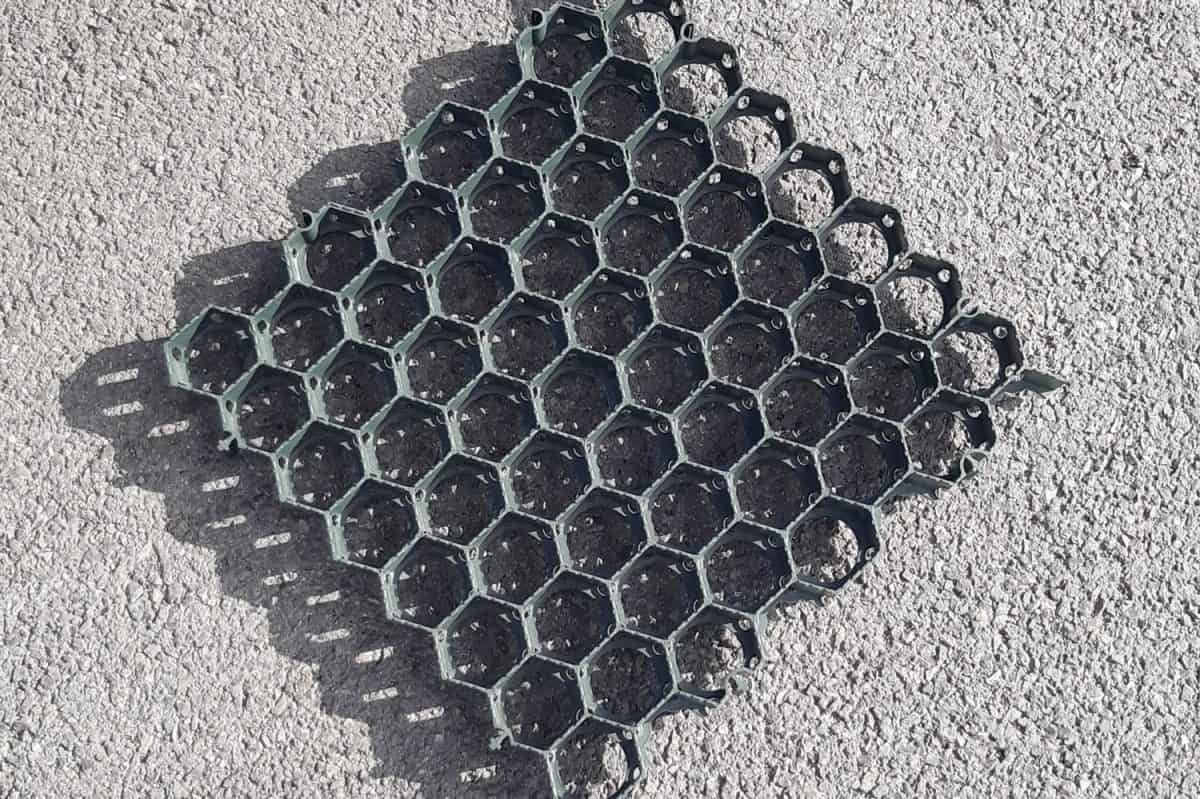
It's actually for parking lot applications, but DIYers discovered it's excellent for a shed base.
Pros
- Simple to install
- Great drainage
- Supports all shed parts
- Low-cost than concrete
Cons
- You can't install it easily on sloped areas
- Not frost-proof
- Needs to separately purchase plastic grid and gravel
- Made from plastic
6. Deck Blocks
It is a trapezoidal block that's typically made from concrete.
Pros
- Cheap
- Easy installation
- Provides more support than regular concrete blocks
Cons
- Doesn't support all shed parts
- Difficult to use with pre-built sheds
- Makes the door access more difficult
- Shed anchoring is hard
- Not frost-proof
7. Gravel Pad
It is one of the best shed foundation options since it is durable, economical, and versatile.
Pros
- Great drainage
- Can support all shed parts as long as you compact it
- You can install it on sloped sites
- Much cheaper than concrete
Cons
- More expensive than pavers or any basic foundations
- Requires additional concrete footers for frost-protection
8. Screw Piles
This type of shed is commonly used in residential constructions. And it is similar to post-and-beam, or concrete piers shed foundations.
Pros
- Simpler to install than concrete piers
- Okay for sites with slopes
- Easy to anchor a shed on top of the piles
Cons
- Raises a building to an inappropriate height
- Expensive materials and installation
- Not suitable for some prefabricated sheds
- Doesn't support all shed parts
- May void some prefabricated shed warranties
9. Post-And-Beam

It is a good option for anyone with deck-building skills or carpentry.
Pros
- Cheaper than concrete
- Okay for sloped sites
- Undemanding to anchor a shed to the posts.
Cons
- Raises buildings to an inappropriate height
- Can deteriorate overtime
- Not okay for prefabricated sheds
- May void some prefabricated shed warranties
Summary
Shed anchoring adds durability, stability, and strength. Additionally, it ensures you have peace of mind whatever weather conditions occur, making your investment safe and secure.
For further reading, check these out!
![Vibrant Red Paver Stone Path, Can You Spray Paver Sealer? [How To Apply It]](https://pavingplatform.com/wp-content/uploads/2022/04/Vibrant-Red-Paver-Stone-Path-600x400.jpg)
![Properly laid out red pavers for a garden, Can You Tint Paver Sealer? [And How To]](https://pavingplatform.com/wp-content/uploads/2022/04/Properly-laid-out-red-pavers-for-a-garden-600x400.jpg)