Disclosure: We may get commissions for purchases made through links in this post.
Pavers are a great way to create pathways, utilize outdoor living space, and most of all enhance your backyard. However, if you are wondering how long before you can drive on them, don't fret because we researched all the answers to help you!
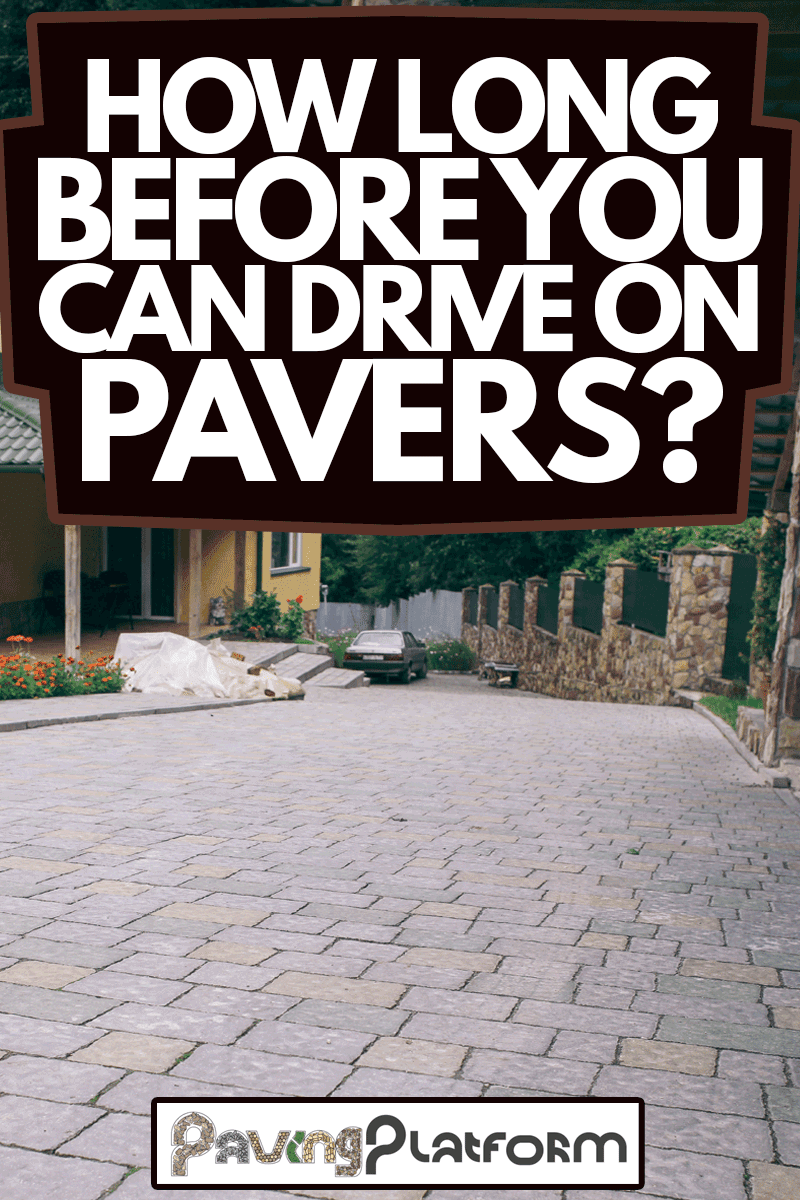
As long as the concrete completely dries, then you can drive on it within two to three days. If you had it sealed, you can immediately drive on it after 24 hours. However, the definite answer entirely depends on the climate of your location, that aids in drying out your pavers.
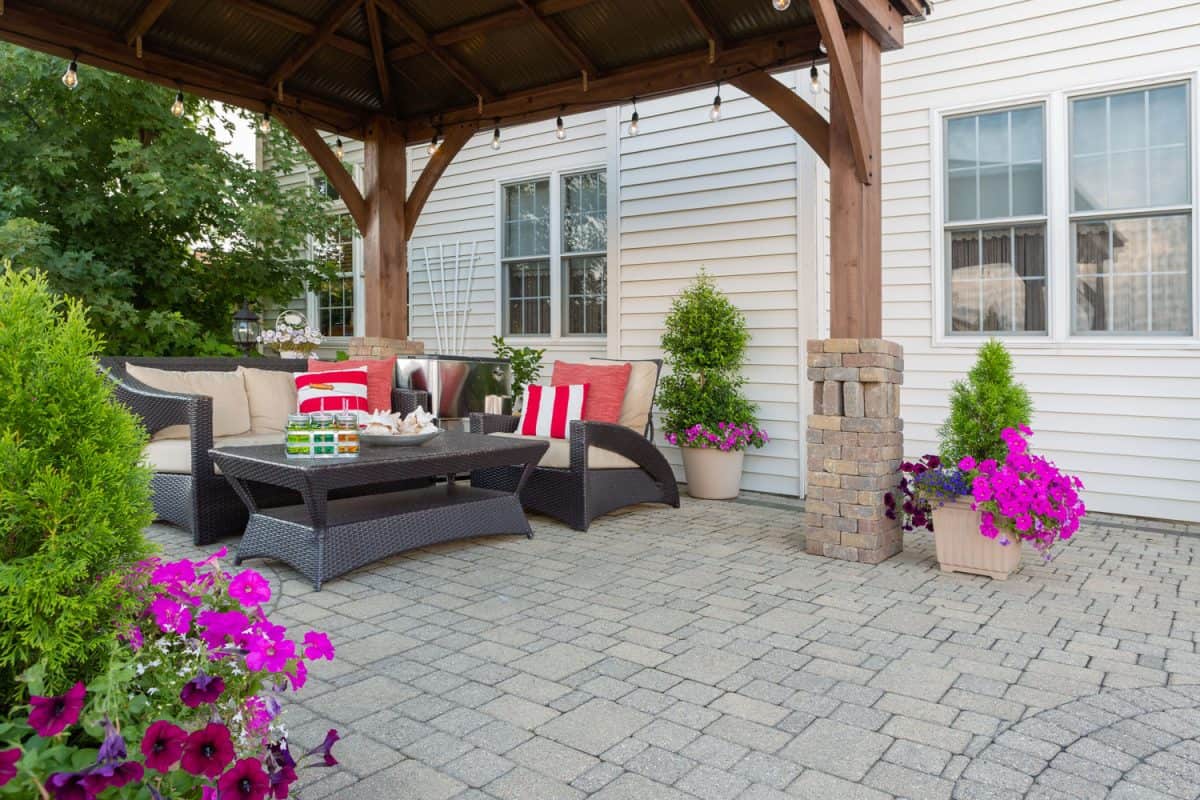
There's no doubt that pavers add a special touch of aesthetical appeal to your outdoors. Not only that, they offer great advantages in terms of functionality and versatility. You can read further for a thorough discussion on pavers.
Everything You Need To Know About Pavers
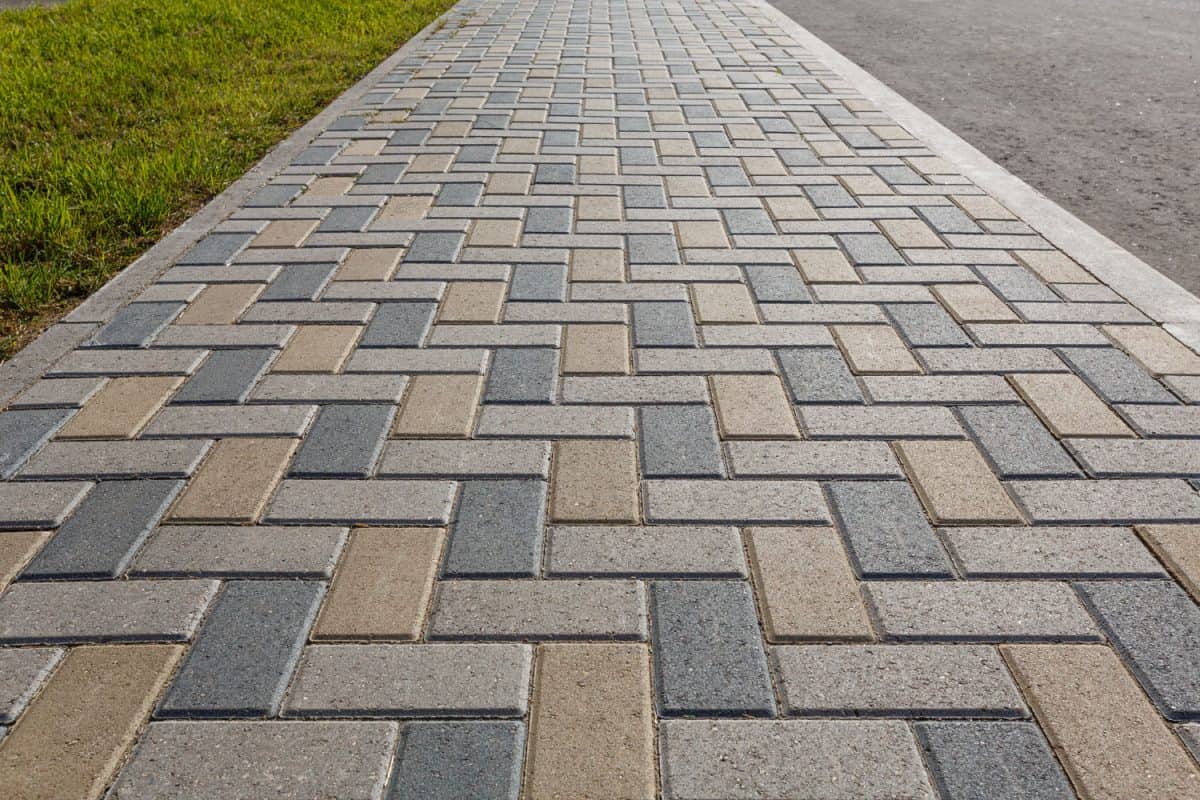
Pavers can come in square and rectangular-shaped blocks made out of concrete, bricks, or cut natural stones that come in different styles and colors. Pavers are either in the form of interlocking or architectural slabs.
One of the most common installations for patios and driveways is interlocking pavers, which have uniform lines and patterns that can withstand high traffic. On the other hand, slab designs are known to be much thinner and are usually formed to look like natural stones. Despite that, they are still feasible as driveways.
There are absolutely a lot of things to know about pavers and how they vary from other paving options. Let's go and delve into the advantages and disadvantages that come with this!
Advantages
- Pavers provide durability and combine strength as they have continuing abrasion resistance.
- They can handle all types of wheel movement, especially in high areas of pedetsrian and automotive traffic.
- Pavers can easily be resurfaced.
- Pavers impressively maintain their interlocking form.
- Pavers are easy to repair. Plus, they are also easy to install.
- They can withstand any type of weather conditions and adapt to seasonal changes.
- Pavers like the permeable types are made out from natural clay material using the earth's soil. Thus, the surface sustains the value of your property.
- They remarkably maintain color consistency and aren't easily affected by ultraviolet light.
- Pavers are easy to maintain.
- When pavers get cracked or damaged, it's easy to replace by simply removing the damaged area and replacing it on the same day.
- Your mind is your limit as to how you want to style your surface according to the shape, pattern, and paving stones according to yout liking.
Disadvantages
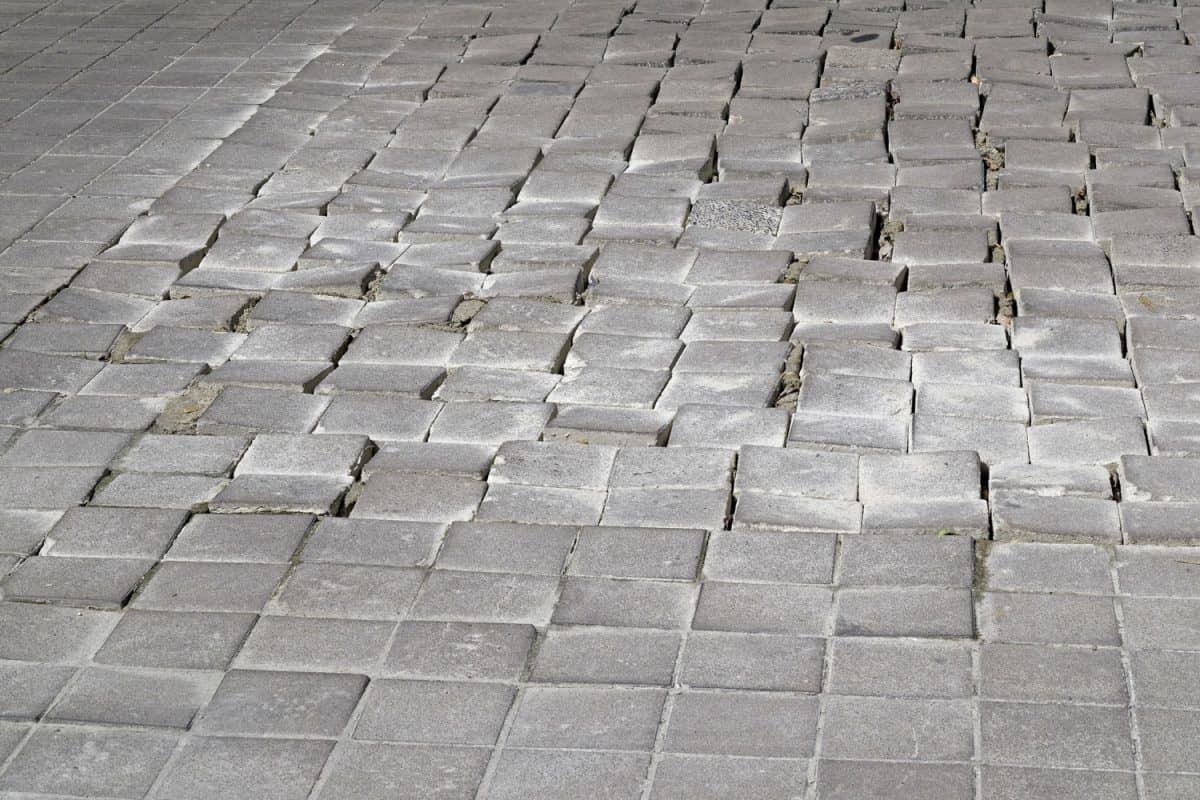
- Pavers are known as a breeding ground for weeds and moss so you'll need to regularly clean it.
- Pavers may require a proper drainage system since the surface joint sand reduces the ingress of water through its joints. It is possible that water may not properly drain to its system.
- When done wrongly, it can lead to sinking blocks. You need to ensure that your interlocking paving blocks will have a solid base and an adequate amount of sand.
- The color consistency of pavers makes faded areas likely specifically if poor quality colorant is used when formulating the blocks.
- Poor workmaship and using bad materials can cause uneven or unstable interlocking paving blocks.
- Pavers may take longer installation time than other paving alternatives.
- Pavers have varying qualities so you have to be keen on what material you will be getting because this factor greatly depends on the durability and functionality of the paver.
Installation
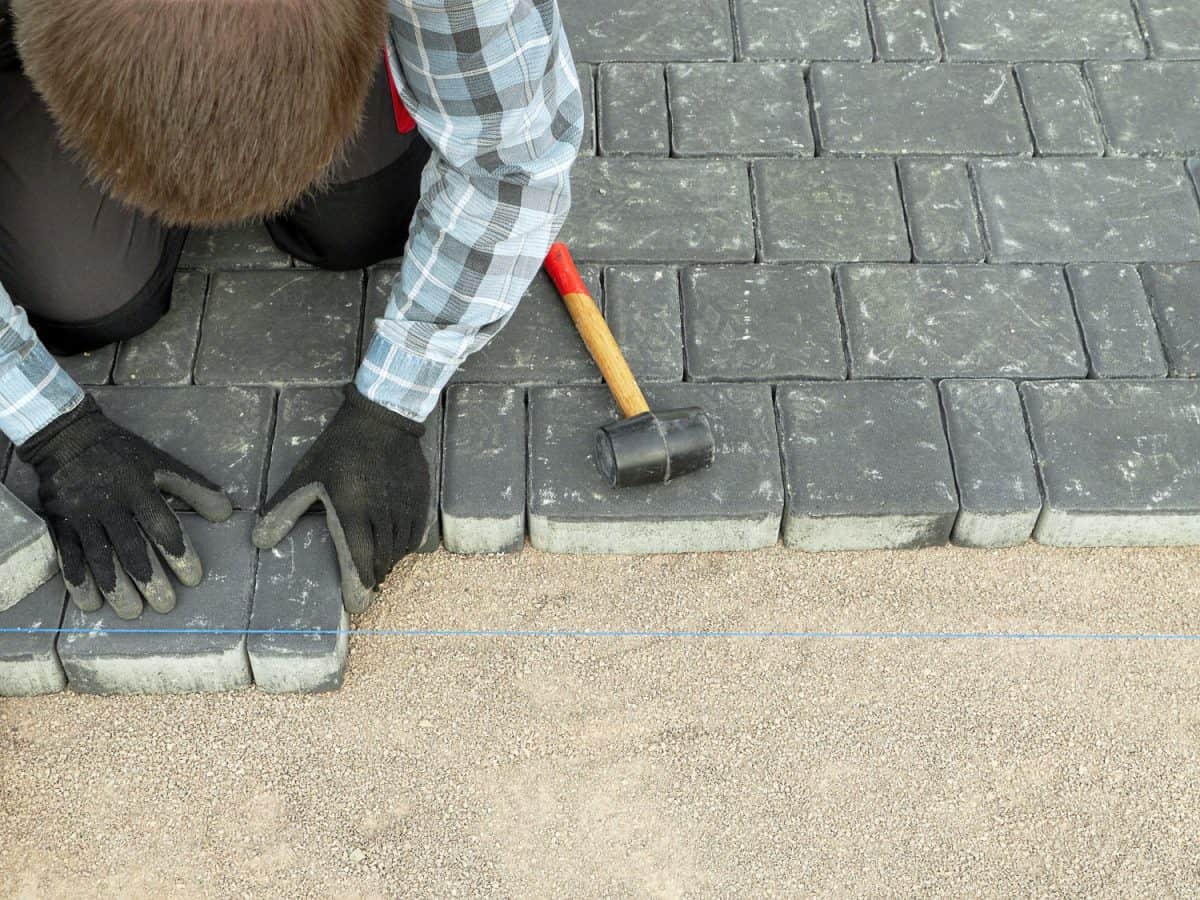
Although pavers can be done as a conventional DIY project, this requires strong physical labor which you need to equip yourself with. You will also need the right tools and materials during installation to end up with a well-built surface.
However, for you to not risk the quality of your work, it's best to hire a professional to do the job for you for the best results.
For your convenience, you may want to watch this YouTube video by I Am A Hardscaper for the basic knowledge and tips to install pavers.
Maintenance
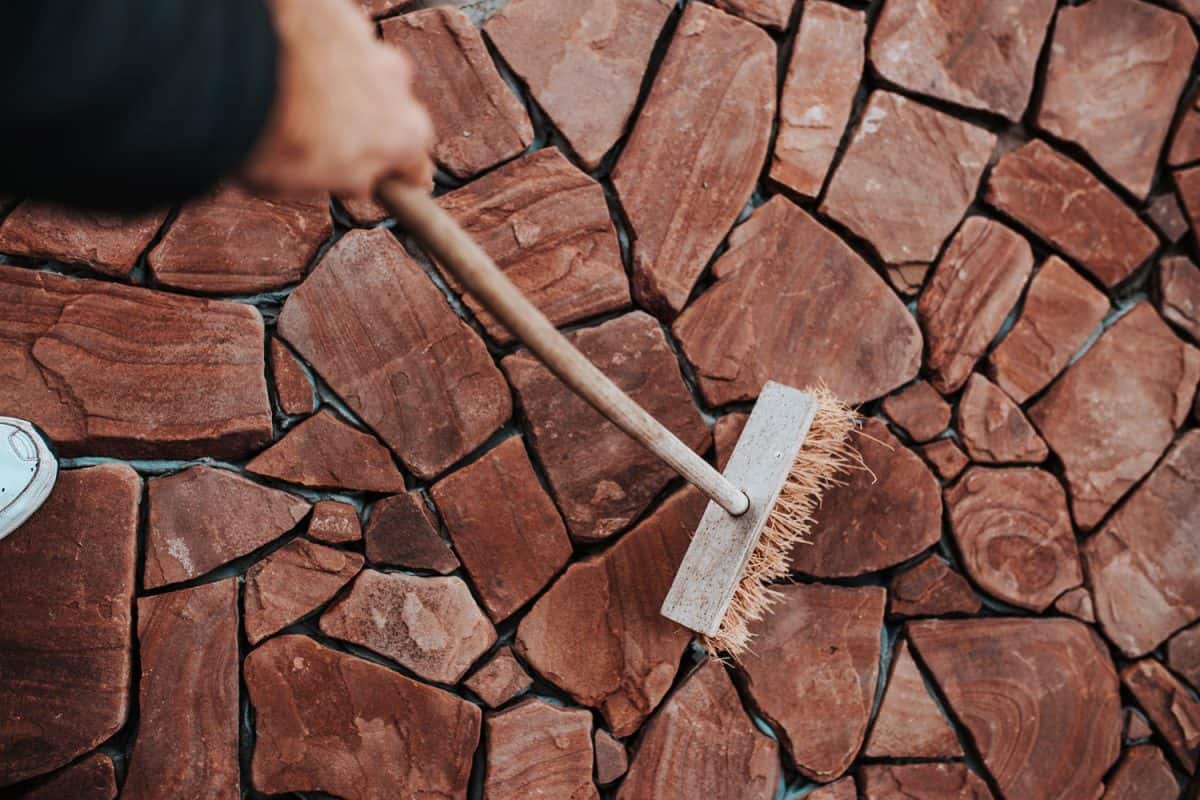
To keep your paver's structural integrity and beauty long-lasting, here are a few general maintenances you need to do:
Cleaning
Clean your pavers every spring with a coarse bristle brush and a pavement cleaner to make them look fresh and new. Simple Green's pavement cleaner aids in eliminating dirt, grime, and stains from mold, moss, and algae. It has a fast-acting foam that instantly cleans with the use of its powerful peroxide.
See Simple Green's pavement cleaner on Amazon.
Weed Management
Regularly apply granular weed preventative between paver joints to prevent weeds from growing uncontrollably.
Reseal
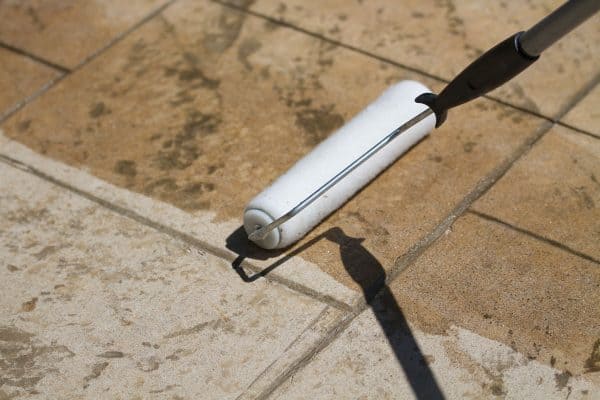
Reseal your pavers every three to five years only to a maximum of two applications. Failure to follow will lead to creating a film on the paver's surface, causing discoloration.
Top-up Joining Sand
Keep paver joints topped off with jointing sand to prevent sand-bedding, deteriorating, and shifting pavers.
You can take a look at this YouTube video by The Brick Paver Doctor for additional insights on how to maintain pavers.
How Do Weeds Grow On Pavers?
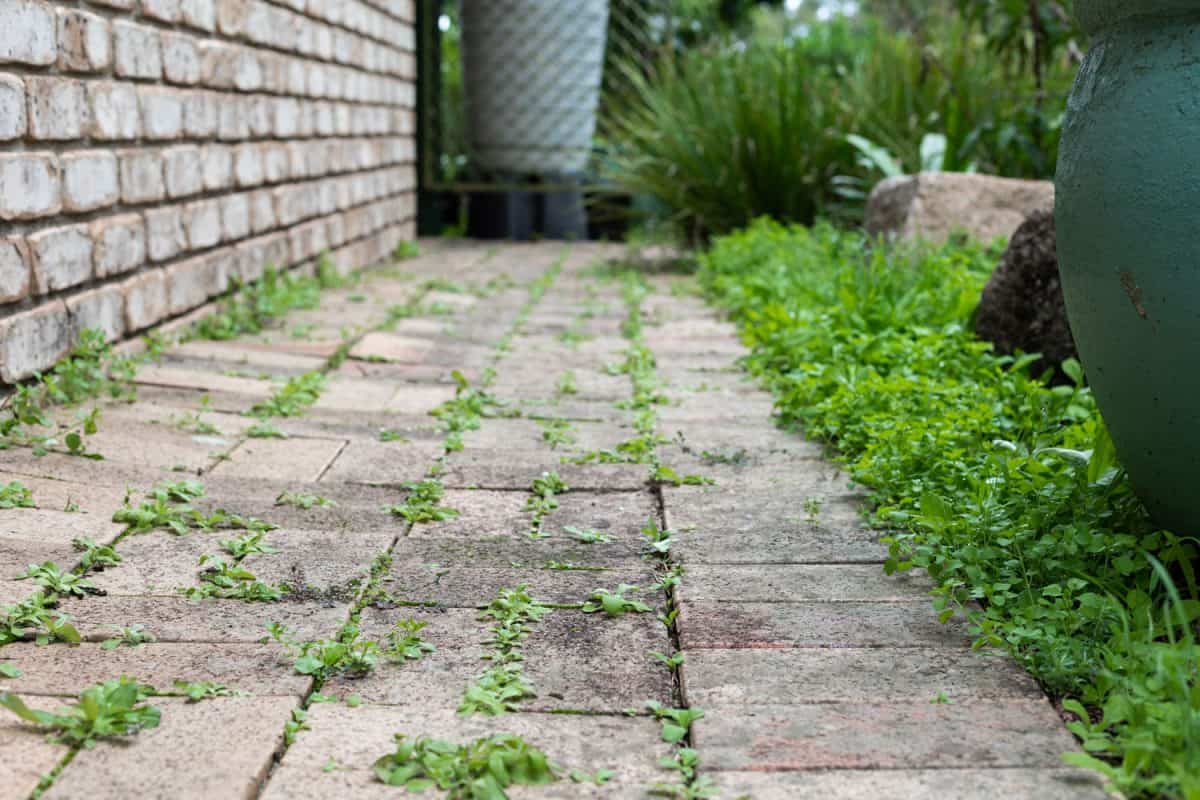
It is a misconception to think that weeds grow from under the pavers. As a matter of fact, weeds that grow on pavers are typically airborne weed seeds that are blown around and dropped to the pavers' surface.
Then, these weed seeds find their way into an opening through the joints of the pavers so that they can germinate and grow quickly.
Weeds on pavers are not only horrid to look at, but they can also cause structural damage to your driveway or patio pavers. This is why it's imperative to look out for them as part of your maintenance routine for your pavers.
You can take a look at this YouTube video from HowtoDoit for tips that will come in handy on how to get rid of weeds growing on pavers.
For another method of removing weeds without using other chemicals, you can try doing this pressure washing technique from Helpful DIY.
Why Do Pavers Crack?
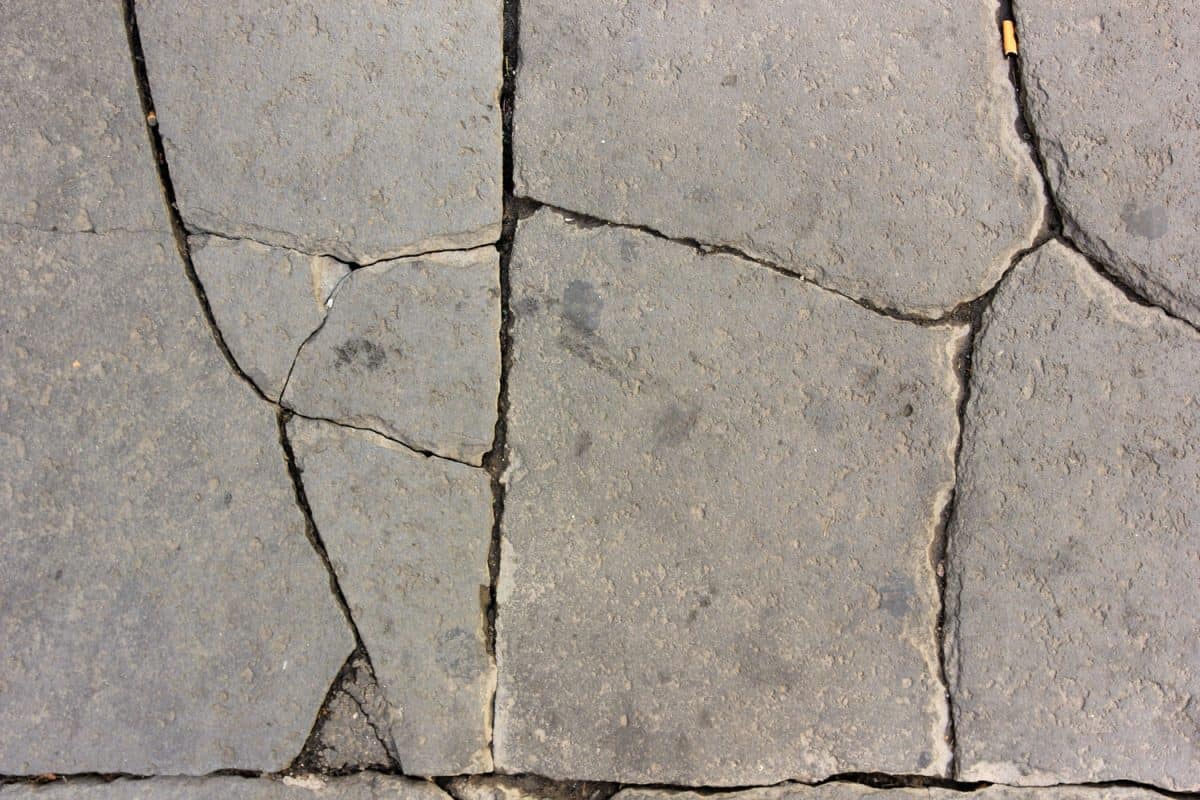
Aside from growing weeds, cracked or broken pavers are one of the most common problems associated with pavers. There are a lot of factors that contribute to this trouble such as the following:
Insufficient Installation
It is important to create an excellent foundation for your pavers. If you plan to do it all yourself, you have to ensure that you are a pro at hardscaping. However, if you know deep down yourself that you are a first-timer, it's best to let the professionals do their job and see to it that you monitor their work the day of the installation.
Misued Sealer
Unsealed pavers end up in a lot of issues including flaking, cracking, and breaking since they are exposed to a lot of salt, deep water penetration, UV rays from the sun, chemical, and from all the freezing and thawing during winter seasons.
Lack Of Polymeric Sand
Polymeric sand allows brick pavers to endure weather conditions by allowing them to naturally expand and contract. Failure in sustaining the right amount of polymeric sand for your pavers can lead to erosion resulting in cracks.
How Often Should You Re-sand Pavers?
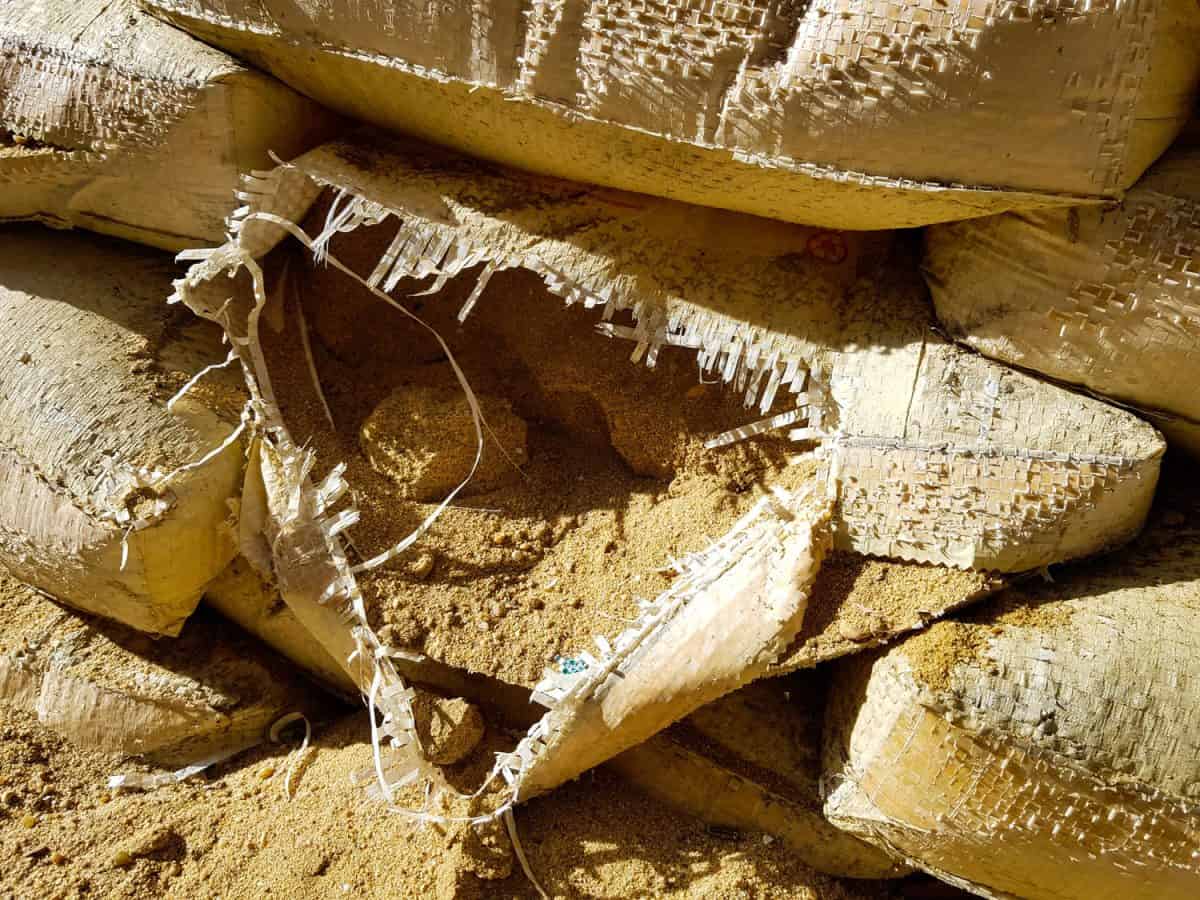
It is highly recommended that you re-sand your pavers at least once every two years. If you're using polymeric sand, this material can last for about ten years so this likely saves your re-sanding costs.
However, resanding entirely depends on the weather conditions of your region. As part of your pavers proper care and maintenance, it its utterly important to have it check every now and then most specifically during changing weather to see to it whether or not they need resanding.
In Closing
Driving on pavers is allowed only once the surface is properly dry and installed rightly for its cause. More importantly, maintain your pavers with the right care and observation to make it last longer for you to drive on. Now you know all about this, you can now enjoy the benefits of paving with the equipped knowledge to things that relate to it.
If you like this discussion, you can also read the following articles on our site:


![Vibrant Red Paver Stone Path, Can You Spray Paver Sealer? [How To Apply It]](https://pavingplatform.com/wp-content/uploads/2022/04/Vibrant-Red-Paver-Stone-Path-600x400.jpg)
![Properly laid out red pavers for a garden, Can You Tint Paver Sealer? [And How To]](https://pavingplatform.com/wp-content/uploads/2022/04/Properly-laid-out-red-pavers-for-a-garden-600x400.jpg)
