Disclosure: We may get commissions for purchases made through links in this post.
When deciding to use a hardscaping material for your pavement project in your outdoor living space, you have to know the possible problems that can arise over time. One such concern is shifting because it'll cause your pavement to crack, become uneven, and be a safety hazard. We've asked the experts if pavers shift over time and what can be done about it. Here's what they have to say.
Pavers aren't supposed to shift over time. Their interlocking joints give them flexibility. But they tend to shift when they haven't been installed properly. There could be shifting when:
- the base is not deep enough
- too much sand or dirt was used for the base
- bedding sand wasn't installed properly
- pavers weren't installed the right way
- pavers and sublayers weren't compacted appropriately
- using long linear pavement pattern
- no edging
To prevent shifting, you have to ensure that the entire installation process is done in good order. Otherwise, you would have to redo the job to address the issue.
In this article, we'll talk more about pavers and shifting. Continue reading to find out more about this problem and what can be done to prevent it in the first place or how you can remedy the situation when it happens. Let's get into it!
![New contemporary home with driveway, front lawn and lush tropical foliage, Do Pavers Shift Over Time? [And How To Prevent And Repair]](https://pavingplatform.com/wp-content/uploads/2022/03/Do-Pavers-Shift-Over-Time-And-How-To-Prevent-And-Repair.png)
Is It Normal For Pavers To Shift?
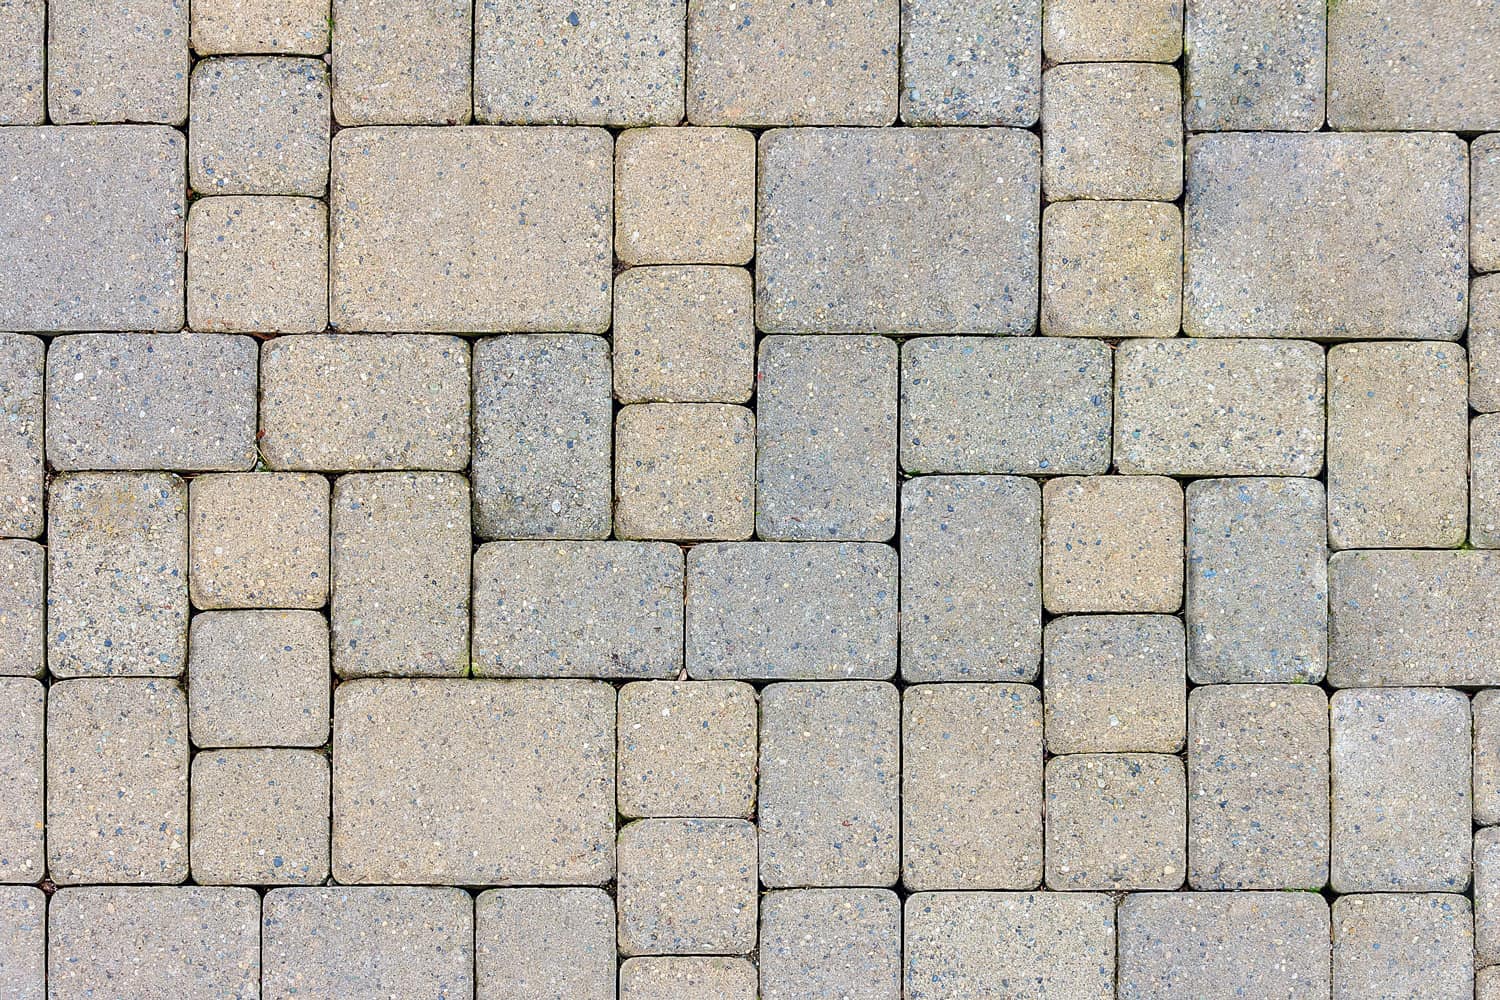
Pavers are blocks or slabs that are interlocked to form the exterior surface of patios, walkways, driveways, pool decks, and more. These hardscaping materials can be made of concrete, brick, flagstone, marble, rubber, and even plastic. They are available in a whole range of shapes and colors, so there are many to choose from to create your desired visual effect.
Many homeowners choose pavers because these can be arranged into unique patterns and designs. These interlocking pavers also have a high compressive strength which makes them perfect for your driveway since they can withstand heavier loads.
Another advantage of pavers is their easy maintenance. They don't require much effort to retain their beauty and continue to serve their purpose. You can just use a broom or leaf blower to remove dirt and loose particles on their surface.
If you want to clean them thoroughly, you can use a wet mop. Homeowners also do not have to spend much on repair costs in the long run. This is because you can simply remove the specific pavers that have been damaged and replace them with the same size and color and they'll fit right in just like a puzzle.
Because pavers are interlocking, their joints are more forgiving when there's movement on the ground underneath their surface. This means they are less likely to crack or shift compared to other paving materials.
It isn't normal for pavers to shift when they have been installed properly. However, shifting is still a common problem being experienced by those who chose this hardscaping material.
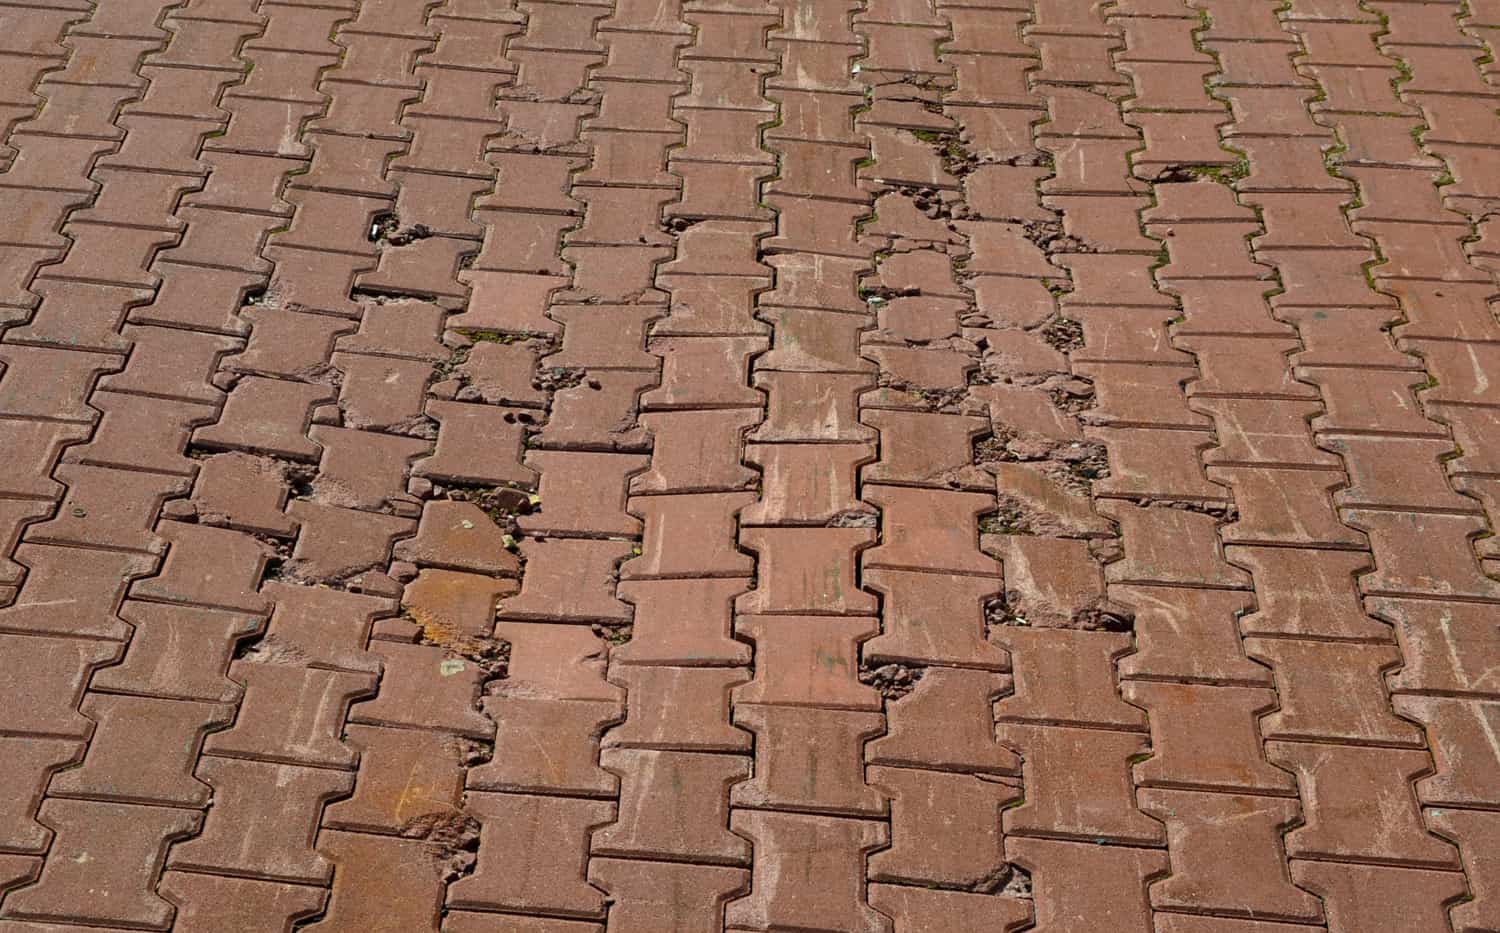
Shifting happens when pavers move out of their original place due primarily to the movement on the base level. The pavers on top can settle, resulting in an uneven pavement surface. Aside from having a poor appearance, it can also be a safety hazard to everyone using the pavement.
7 Reasons Why Pavers Shift and What You Can Do About It
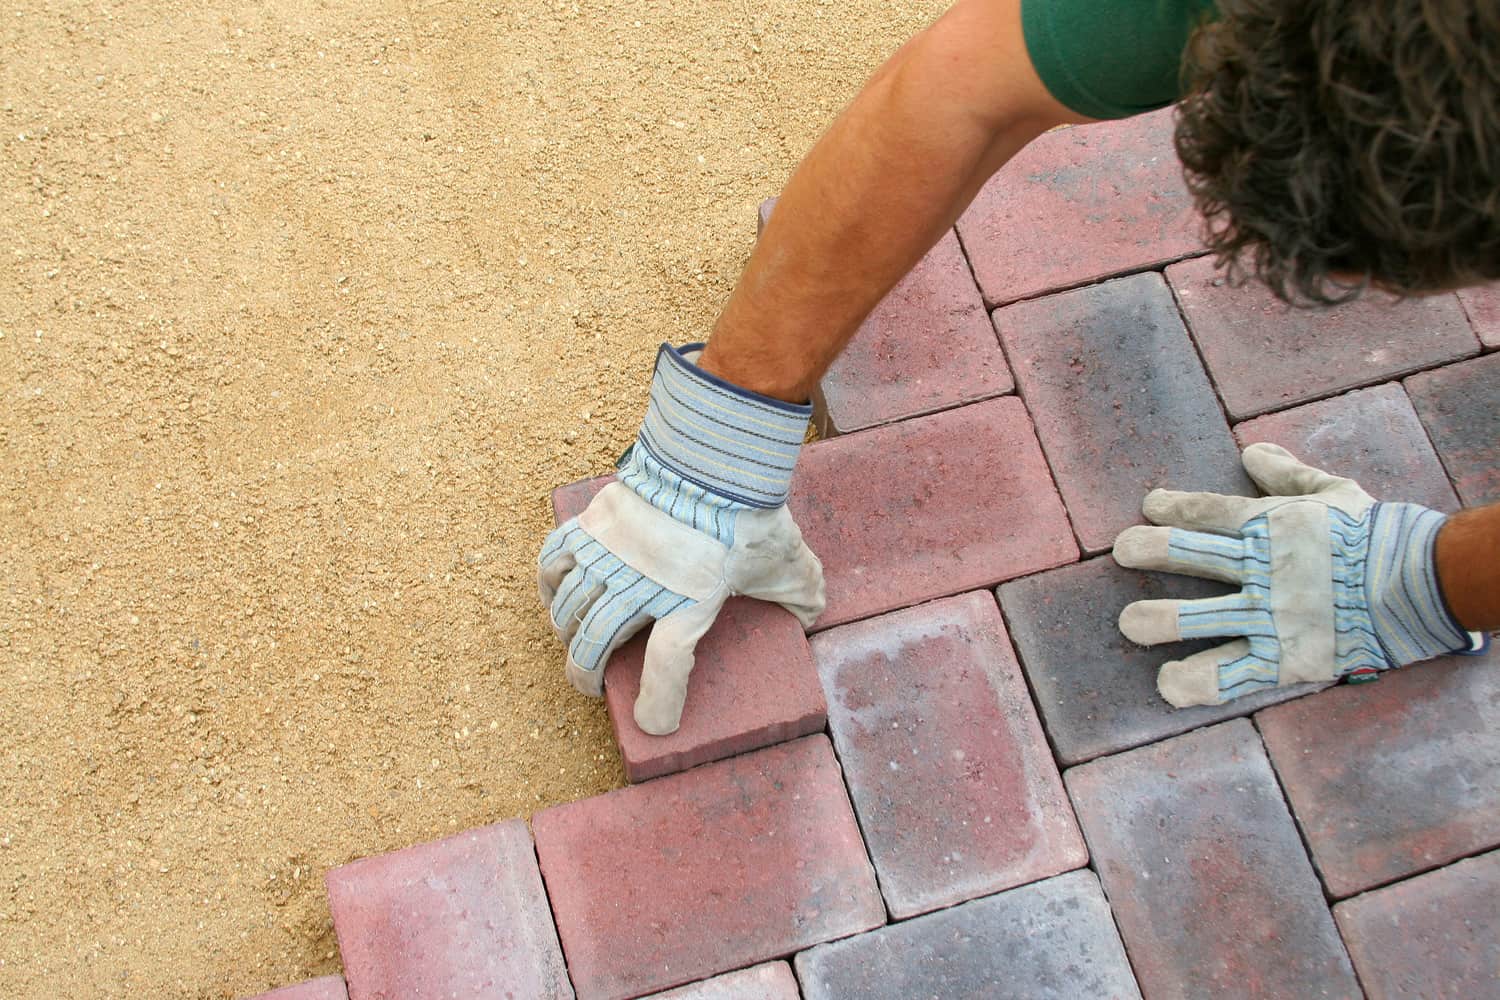
Shifting is the result of improper installation. Here are the possible reasons why your pavers shifted and how you can stop them from happening.
1. Base Is Not Deep Enough
A shallow base is a recipe for disaster. The base should be deep enough to be able to give solid support to the pavers above it. But sometimes inexperienced DIYers or contractors that are skimping on costs won't excavate a deep base. This could be due to a lack of knowledge or hoping to cut down on expenses. The deeper the base, the more paving materials you'll need.
Experts say that the depth of the base depends on how you'll use your pavement and the climate in your area.
If your hardscape is intended for your walkway and patio, you should dig at least four inches below the ground for your base. If it is intended for your driveway or there is going to be vehicular traffic, the depth should be at least ten inches. This will ensure that the base is solid enough to support the heavier load of vehicles.
When you live in an area with colder or wet climates, you need to add two to four inches to the depth that you're digging since the soil is mostly wet. This can weaken the base over time if it isn't deep enough.
2. Too Much Sand Or Dirt Was Used At The Base Level
Once compacted, sand and dirt will shrink by as much as 30%. Once they shrink, the pavement surface will settle over time. This results in shifting and an uneven hardscape.
Road-base gravel, which is a combination of fine and coarse stones, is the recommended material for your base to prevent settling. It won't compact that much which will give you a solid base for your pavers. But you would need to put a layer of sand on top of the gravel to keep the gravel in place. This will eliminate settling.
3. Improper Installation Of Bedding Sand
Speaking of layering your gravel base with sand, you need to make sure that it is done right. Aside from filling the gaps in between the gravel, it also forms another layer of your base. It serves to even out the surface since you can't expect the aggregates to be completely flat. If there are dips and joints on the bedding sand layer, they will reflect on the pavement above.
Experts employ a process called screeding to level the bedding sand. This layer's depth should only be an inch since it tends to settle if you use too much.
4. The Pavers Were Not Properly Swept In And Compacted
This process is crucial in ensuring that the pavers have a solid and even base. Pavers will just mimic the base; if the base is not flat and firm, the pavers will be uneven.
It is important to compact the gravel base in both directions to make sure that they won't shift in their position. Contractors use special equipment for this job. A steel tamper is used for small pavement projects while a plate compactor is intended for larger installations.
Click here to see this tamper on Amazon.
5. Improper Installation Of The Pavers
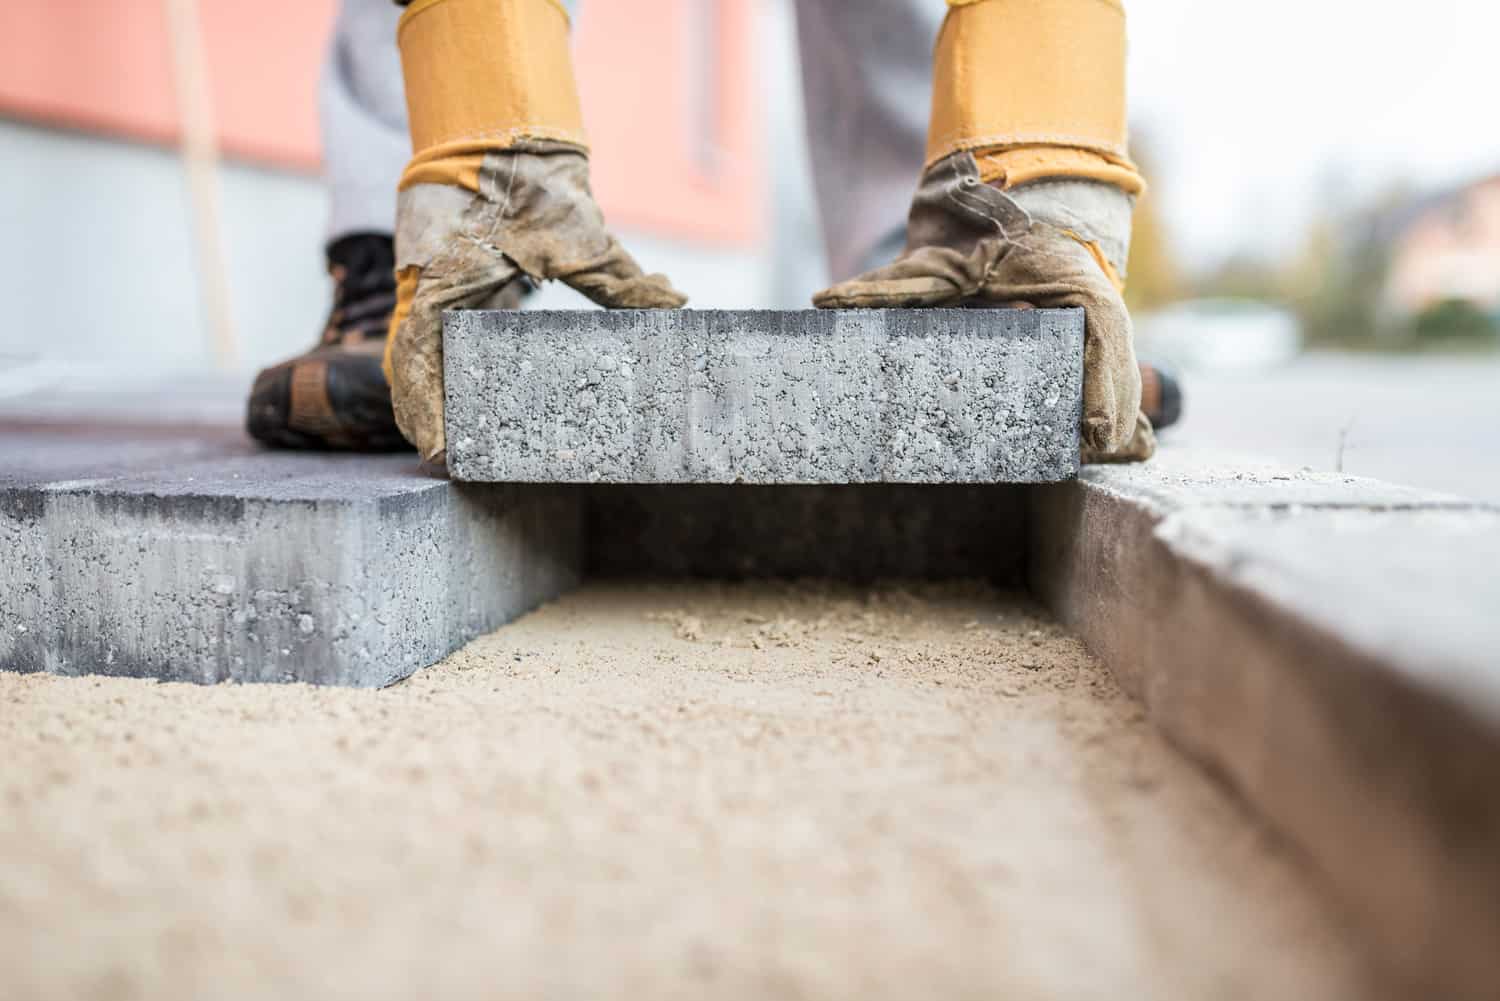
You cannot just put the pavers on top of the sand bedding and hope that they will connect. There's a right way of doing this which contractors refer to as the click and drop method. Remember, they need to interlock to form a solid surface without huge gaps in between. When there are gaps on the surface, the pavers will shift over time.
To make sure this doesn't happen, practice the click and drop method then sweep sand in between the paver joints to fill in the gaps. This will result in stable pavement.
6. Having Long Linear Lines
When you lay your pavers in linear lines, you are compromising their stability. This pattern is considered structurally unstable which will cause your pavement to shift over time.
When laying your pavers, you have to follow the guidelines and recommended patterns. Experts say the four corners of each paver block shouldn't meet. It is also not advisable to have a linear joint that runs up to nine feet long.
7. No Edging
There are edges of the pavement that are not properly locked in. This means that they can shift or be damaged when subjected to pressure. So, you must see to it that your paver hardscape has a structured border. Contractors recommend cementing this part to secure the edges.
What To Do About Shifting In Your Pavement?

As discussed above, you need to ensure proper installation of your pavement from start to finish to prevent shifting problems. That is why you have to get a trusted contractor to do the job. But if you're already dealing with this issue right now, you need to deal with the root cause of the problem.
If there are no edges, it is easy enough to resolve. You can install edges at the sides of your pavement to prevent them from moving. However, if the problem is at the base, you would have to redo the job.
The good thing is that you can pull up the pavers to be able to excavate deeper, compact, and level the base. Afterward, you can reinstall the same pavers that you used. It would mean more effort on your end, but at least you don't have to double your expenses when it comes to the materials.
Final Thoughts
It all boils down to getting a trusted contractor to be able to install the paver hardscape properly and get the job done right the first time. If you're planning to make this a DIY project, make sure you study the proper installation and consider all the given recommendations so that you won't have to deal with shifting issues.
To read more about pavers, visit the following posts:


![Blue stone pavers on the garden patio, How To Clean Bluestone Pavers [Care & Maintenance Tips]](https://pavingplatform.com/wp-content/uploads/2022/03/Blue-stone-pavers-on-the-garden-patio-600x400.jpg)
![washing services - block paving cleaning with high pressure washer - Can You Pressure Wash Travertine Pavers? [Best Cleaning Methods]](https://pavingplatform.com/wp-content/uploads/2022/03/washing-services-block-paving-cleaning-with-high-pressure-washer-600x400.jpg)