Disclosure: We may get commissions for purchases made through links in this post.
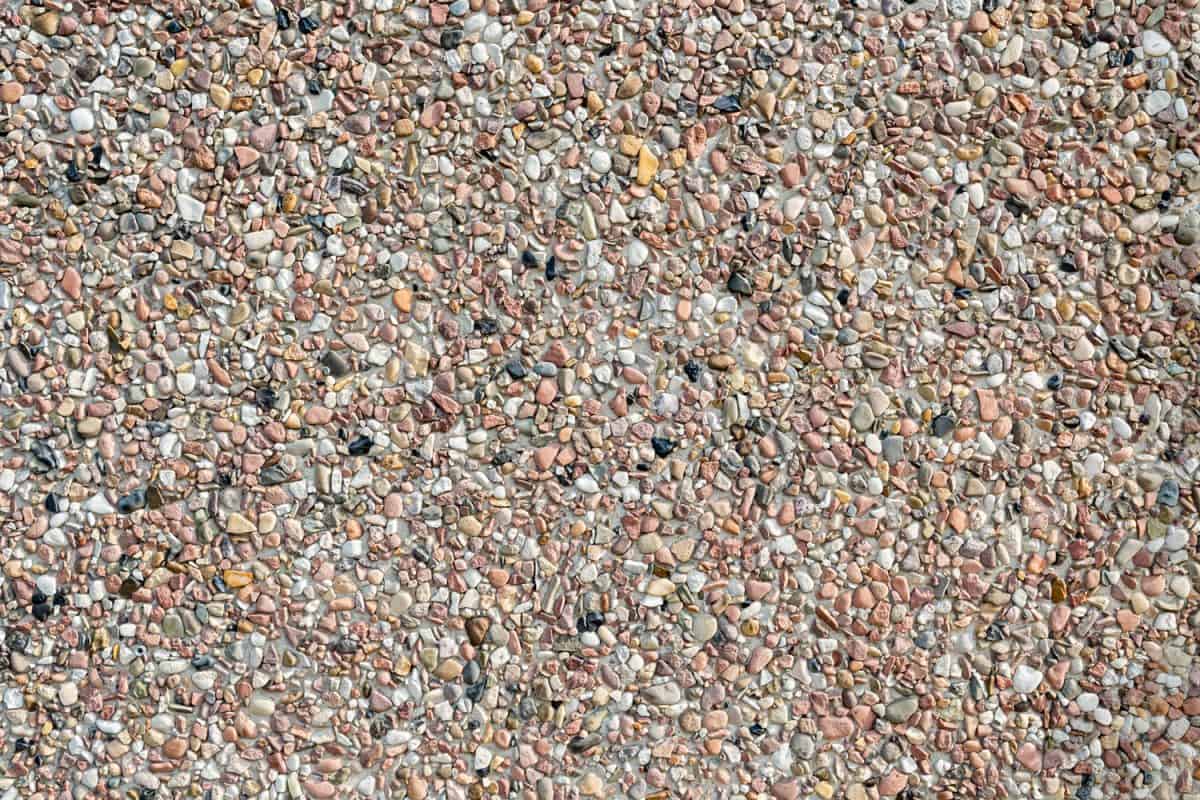
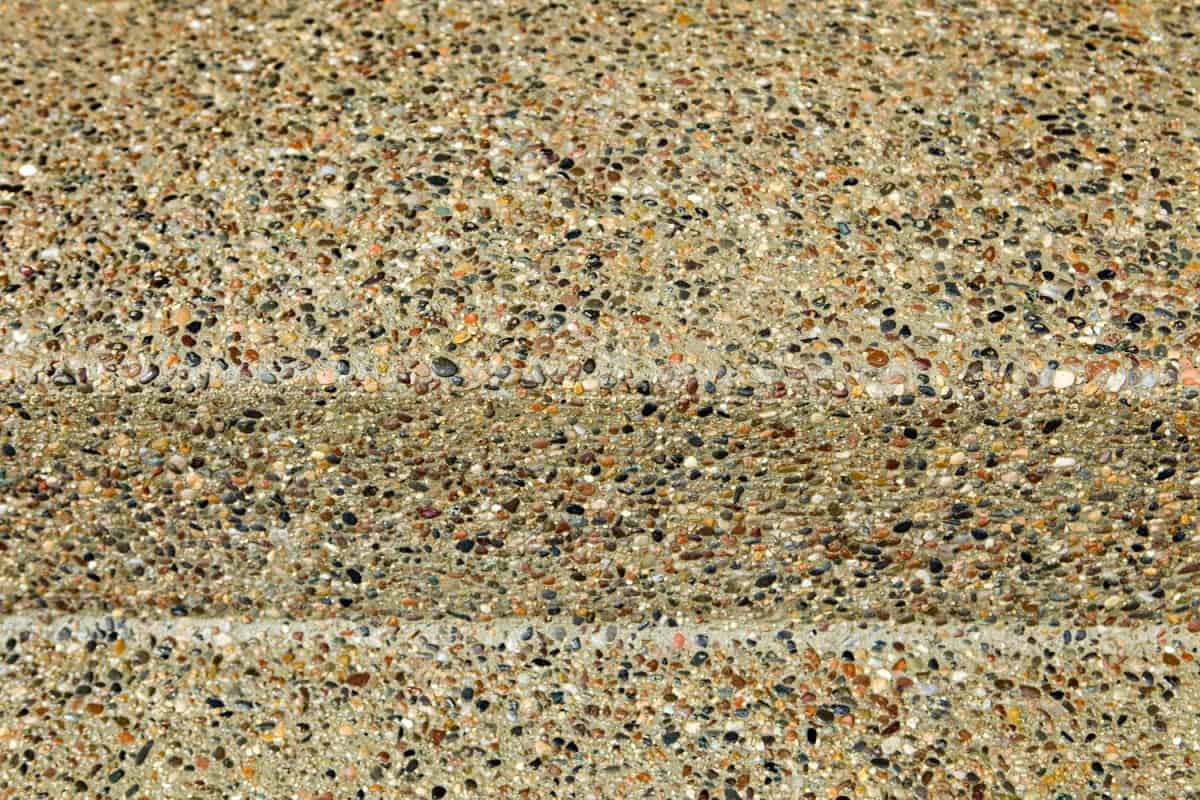
Let’s face it, exposed aggregate is decorative, but it’s exhausting to clean and maintain. Often, it demands a pressure washer to reveal its beauty. On the other hand, polished concrete is both aesthetically-pleasing and easy to clean. Supposed you have decided to polish your concrete, is it attainable? We’ve made in-depth research and here’s what we’ve found:
Polishing exposed aggregate is possible. You just have to grind the floor first. Then depending on the sheen level you want to achieve, you can perform four or more polishing passes with a resin diamond before sealing and buffing it.
Want to learn the advantages and disadvantages of polished concrete and the DIY process? Read further down!
Is A Polished Concrete Good Idea?
Polished concrete isn’t just a good idea, it’s said to be the future of exposed aggregate! Aside from being flexible, it’s also durable, making it difficult to scratch and break. Even with increased foot traffic, it remains intact. Wondering how long concrete lasts? It lasts for a hundred years, allowing you to avoid costly floor repairs!
What Tools Do You Need To Polish Exposed Aggregate?
Here are the tools you need to polish exposed aggregate:
A floor grinder is a finishing device that levels and polishes the surfaces with a diamond disc.
Check out this product on Amazon.
A diamond disc is comprised of diamond blades attached to its edge for cutting concrete, tiles, blocks, and more. It comes in the following degrees:
| Grit Level | Appearance |
| Below 100 | Flat little reflectivity |
| 100 - 400 | Matte finish |
| 800+ | Reflective but not crisp |
| 1500 - 3000 | Polished, with mirror-like shine |
A vacuum ensures a dust-free concrete polishing process inside your house.
A concrete densifier is a liquid mixture applied on the surface to fill the holes as water evaporates during the curing period.
How To Polish Exposed Aggregate?
Prepare The Floor Grinder
- Adjust and switch the setting of the handle to tooling mode.
- Choose and install the appropriate diamond disc. Apply the sanding a wooden floor principle. Start with a more aggressive grit to remove coarse aggregate, then switch to less aggressive blades to avoid gouging the surface further, until you achieve your desired level of smoothness.
- Level the grinder. Make sure the axle and axle lever’s heights are the same.
- Connect the vacuum. Attach the hose to the grinder port.
- Adjust the handle in the correct position, slightly lift the diamond disc from the surface before turning the machine on.
- Start the grinding process. Move from one corner to another, while applying pressure on the grinder. Switch to a higher level of grit after each grind. Repeat as necessary until the surface is leveled and smoothed out.
If you have a rectangular area, make the next pass perpendicular to the previous one to achieve an even sheen level. Be sure to empty the vacuum from time to time to avoid dust leaks in the air.
Apply the concrete densifier in between each pass to fill and seal holes in the surface for a smoother finish. Before you proceed to the succeeding steps, make sure that the concrete has been leveled and smoothed, you can add sealer to achieve a mirror shine.
Polishing your concrete floors
For a glossy finish, use a floor polisher for the final buff.
- Clean and vacuum the floor first. Any debris or dust left on the floor will interfere with the buffing and polishing process, and you won’t be able to achieve the sheen level you desire.
- Apply the sealer. This gives your floor a glossy finish and a longer lifespan. Read the instructions on the product first. Then follow the suggested drying time.
- Install the brush head on the electric polisher, plug it into the power source, and turn it on.
- Start polishing and buffing the floor until you achieve the desired result.
- Once done, apply the final sealer for a perfect finish and durable concrete.
Advantages And Disadvantages Of Polished Concrete
See the advantage and disadvantages of polished concrete below:
Pros
Efflorescence-free
Polished concrete doesn’t collect on the surface unlike the unpolished one. The latter is prone to dusting due to hydrostatic pressure that pushes the tiny particles to the surface. This can lead to a costly repair.
Stain-resistant
Densifying and sealing the concrete floor tightens the mixture, making it more dense and resistant to water and petroleum products.
Maximized Ambient Lighting
Polished concrete is reflective, maximizing the ambient lighting at home. This illuminates the room and also conserves energy.
Slip-Resistant
Contrary to the conception that a shiny surface is slippery, polished concrete actually reduces fall occurrences. This is because grinding increases the coefficient of fractions. Polished concrete is ASTM C1028 certified.
Low Maintenance
Unlike other floor systems such as vinyl and tiles that require aggressive scrubbing and waxing to maintain, polished concrete only needs regular cleaning to prevent stains. They retain their sheen even without aggressive treatment.
Leed Certified
A LEED-certified material is cost-saving and non-toxic. Polished concrete makes exposed aggregate more sustainable without the use of expensive materials. Also, it’s volatile organic compounds-free (VOCs), making it environmentally friendly.
Improved Aggregate Condition
Mechanically polishing the concrete strengthens its foundation, reducing stress and slab distortion.
No Unhealthy Off-Gassing
Once cured, the polished concrete is ready to be used immediately. No need to stay out of the house for many hours due to hazardous chemicals that pose health risks.
Cons
Generally, polished concrete only has a few disadvantages. Those involve cold and noise. First off, polished concrete doesn’t absorb and retain heat. Second, it produces echoes. You can prevent these by laying a carpet or rug on the floor.
How To Increase Slip Resistance In Wet Areas?
Although polished concrete is slip-resistant, wet areas such as the bathroom, pool area, and basement aren’t immune to slips and falls. Here are some tips to improve safety:
Absorbent Rugs
These are made of polypropylene and acrylic fibers that absorb water, oil, and other liquids, making your space soak and spill-free! You can also choose pads and rolls.
Check out this item on Amazon.
Anti Slip Additives
As the name suggests, it improves traction on the floor, minimizing slip incidents. Once cured, it turns invisible, leaving no discoloration on the concrete. The best way to apply it is to mix it with the final coating.
Check out this item on Amazon.
Anti Polish and Slip Conditioner
You can also use anti-slip conditioners. This is applied periodically and is effective in preventing slips and falls.
How To Care For Your Polished Concrete?
- Clean up spills immediately: they sink into the concrete surface and leave stains that are to remove. Also, they cause corrosion on the refined surface.
- Dry mop: this is required daily to get rid of the dust particles that attach to the concrete microvoid. Although they are relatively harmless, they can reduce the shine of your polished concrete floor.
- Wet mop weekly: this removes dirt and grime buildup. Don’t use acidic solutions as they can cause deterioration. Rather, use liquid detergent or mild stone cleaners.
Polishing Vs. Tiling Exposed Aggregate: Which Is Better?
Through inkjet technology, you can now enjoy the beauty and benefits of polished concrete floors on porcelain tiles. They are also aesthetic, reflective, and cost-effective.
But you might be able to enjoy the other benefits that polished concrete floor has to offer such as high strength, easy repair, and long life expectancy.
Conclusion
An exposed aggregate can be polished using different grit levels. Begin with the more aggressive first then switch to less aggressive ones until you achieve your desired level of sheen. Don’t forget to apply a sealer on the final coating for smoother and glossy concrete!
Curious about other surface finishes? Check out: "Should New Asphalt Be Smooth."


![Vibrant Red Paver Stone Path, Can You Spray Paver Sealer? [How To Apply It]](https://pavingplatform.com/wp-content/uploads/2022/04/Vibrant-Red-Paver-Stone-Path-600x400.jpg)
![Properly laid out red pavers for a garden, Can You Tint Paver Sealer? [And How To]](https://pavingplatform.com/wp-content/uploads/2022/04/Properly-laid-out-red-pavers-for-a-garden-600x400.jpg)
