Disclosure: We may get commissions for purchases made through links in this post.
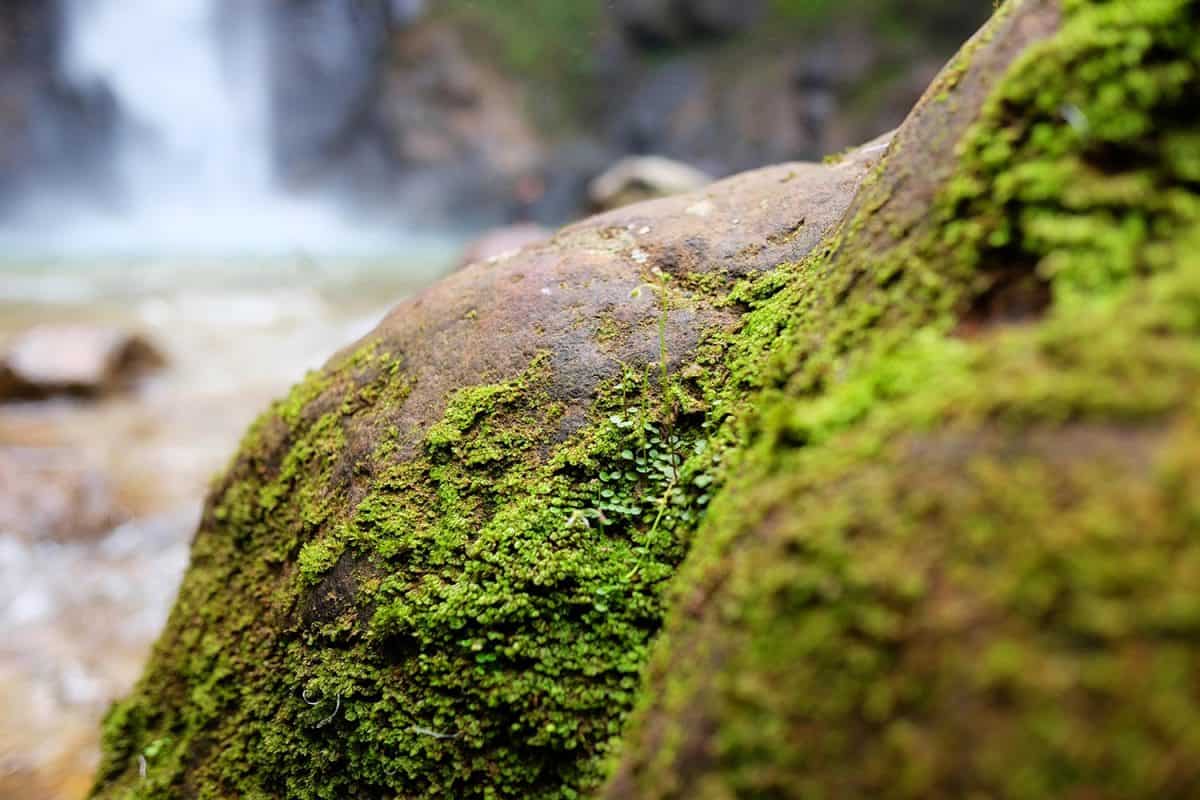
Moss on rocks can be an aesthetic addition to lawns and landscapes. Additionally, these spore-bearing plants can provide extra moisture for nearby florae. But how can you grow moss on top of rocks? We researched for your convenience and here’s the answer we found.
To grow moss on rocks, first prepare a moss-growing solution by mixing ingredients like moss, milk, and yogurt in a blender. With that solution in hand, continue this project by following these steps:
- Soak the rocks with non-chlorinated water.
- Use a soft-bristled broom or brush dipped into the moss-growing solution onto the rocks.
- Cover the rocks with thick, wet blankets.
- Repeat this process every day for about 2 to 3 weeks or until moss grows.
If done correctly, moss can provide different benefits to nearby plants. Keep reading as we talk about the advantages of moss in lawns. We’ll also discuss the steps to grow moss on rocks and other stone fixtures.
Why Would You Grow Moss?
Moss is a reasonably inexpensive way to add benefits to a garden. First, this low-maintenance plant roughly costs $4 to $10 per square foot. Take note that the type of moss grown will affect its overhead. This plant also absorbs toxins from nearby damp areas. Moss is also reasonably easy to clean, thanks to its water-absorbing characteristics.
Other advantages to growing moss are:
Prevents Soil Erosion
As a densely-populating plant, moss can help prevent erosion. It typically grows thick and surrounds nearby surfaces, allowing it to act as binders. In turn, it becomes a carpet- or mat-like substance to hold the ground in place.
Cleans the Environment
Moss also acts as a ‘green lung’ for other plants. It breathes in and captures airborne allergens, pollutants, and toxins. Moreover, the microbes in moss feed off of the harmful substances, allowing them to grow and nurture themselves without significant human intervention.
Aids Health
Certain types of moss are consumable and can provide health benefits. For instance, Sea moss (also called Irish moss) can become an excellent garnish to food or as a nutritional supplement.
It’s low in calories and carbohydrates, yet rich in vitamins and minerals like iron, zinc, and copper. With its healthy components, moss may help in supporting weight loss, thyroid health, and the immune system.

![]()
Check out this book about the benefits of moss gardening on Amazon.
How Do I Get Moss To Grow On Rocks?
Before you grow moss on your garden’s rock formations, you may want to start by adding an aged effect to the outcome. Achieve this result by adding cuts to the rocks’ surfaces with a very sharp knife, such as a kitchen paring knife. Be careful when handling the tool to avoid cutting your skin.
The result you’re looking for should appear like some parts of the stones’ surfaces became drenched in acid rain. Take note that you might need to do this initial step hundreds or thousands of times to get a desirable aged appearance.
After finishing those initial steps, or if you decided to proceed with growing the moss on your lawn rocks without those preparations, you can start making the moss-growing formula. You’ll need some existing moss from your lawn or you can purchase a pack from a reliable supplier.
Put the moss in a blender, along with a cup of non-chlorinated water. Then, add a heaping tablespoon of sugar to the mixture plus 10 or 11 tablespoons of plain organic yogurt. Don’t use yogurt with synthetic ingredients as the artificial components may prevent the moss from growing properly. The final ingredient for this moss-growing solution is half a cup of milk.
Blend the ingredients until you can’t recognize any of the components in the mixture. The mixture should result in a reasonably thick consistency. Leave the mixture in the blender with the lid open for about 2 hours or until you can see bubbles forming in it. Add a cup of warm brewed black tea and mix everything in the blender again.
Once you have that moss-growing solution, you can proceed to the next steps:
What You’ll Need
- Non-chlorinated water
- Soft-bristled broom
- Wet blankets
Step-by-Step Guide
- Soak the stones in non-chlorinated water. Rain or pond water can be ideal options.
- Dip the soft-bristled broom in the moss-growing solution you prepared and apply it onto your garden rocks. Make sure to coat the entire surface of each rock with this solution.
- Cover the rocks with wet blankets.
- Repeat steps 2 and 3 every day for about 2 to 3 weeks until the moss starts growing.
It can be easier to complete this project in cold weather than in the dry season. Remember, moss is a moisture-loving plant and may take longer to develop and propagate if the weather is fairly dry.
For more information about how to grow moss on rocks, watch the video below:
At this point, you might also find it interesting to learn about the recommended thickness of asphalt for parking. If so, you can read our post on that topic.

![]()
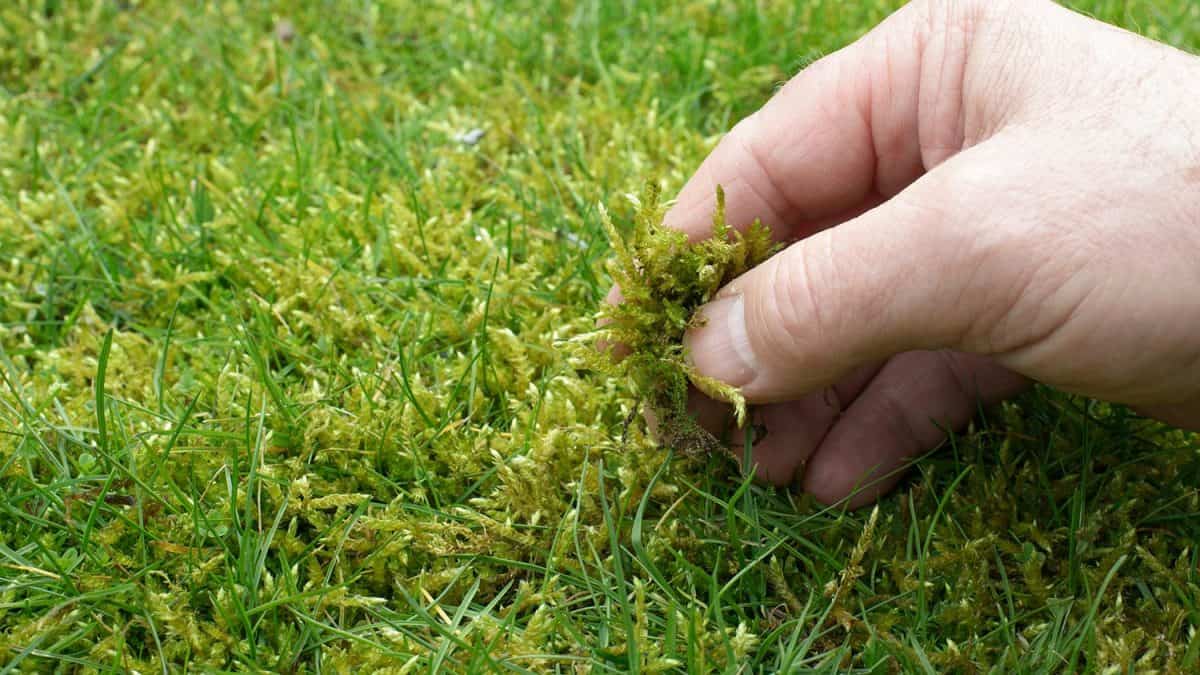
Check out this sheet moss on Amazon.
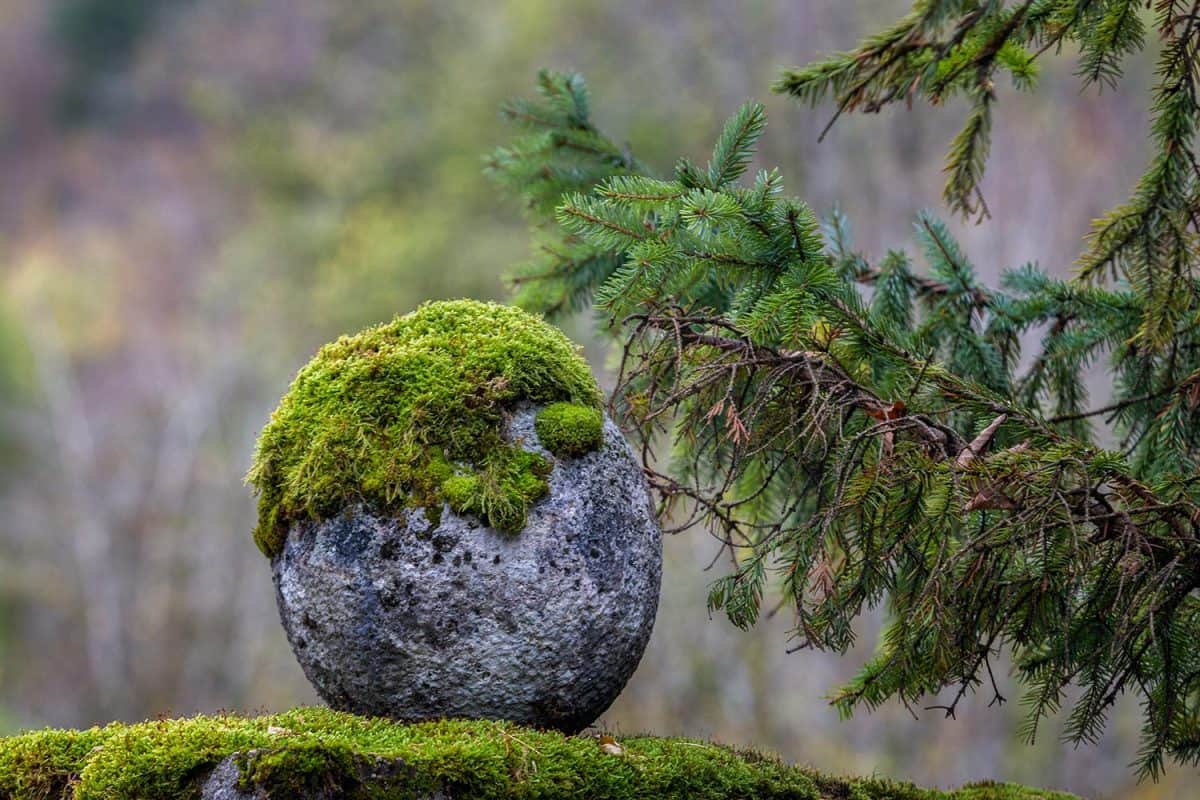
How Do You Grow Moss On Boulders?
Growing moss on large boulders or rock formations often demands a similar procedure to developing the plant on small stones. However, you might need more of the moss-growing slurry because of the large surface area.
Aside from following the steps to grow moss on rocks to produce this substance on boulders, here’s an alternate way of achieving similar results for boulders:
What You’ll Need
- Paintbrush
- Spray bottle
- Non-chlorinated water
Step-by-Step Guide
- Paint the moss-growing slushy onto a boulder’s surface with a paintbrush.
- Spray the surface with non-chlorinated water using water in a spray bottle. Don’t rinse the mixture with a garden hose, or else the pressure will remove the solution.
- Mist the boulder’s surface every day until moss forms.
- Repeat these steps as many times as necessary to cover other boulders.
How To Grow Moss Between Pavers?
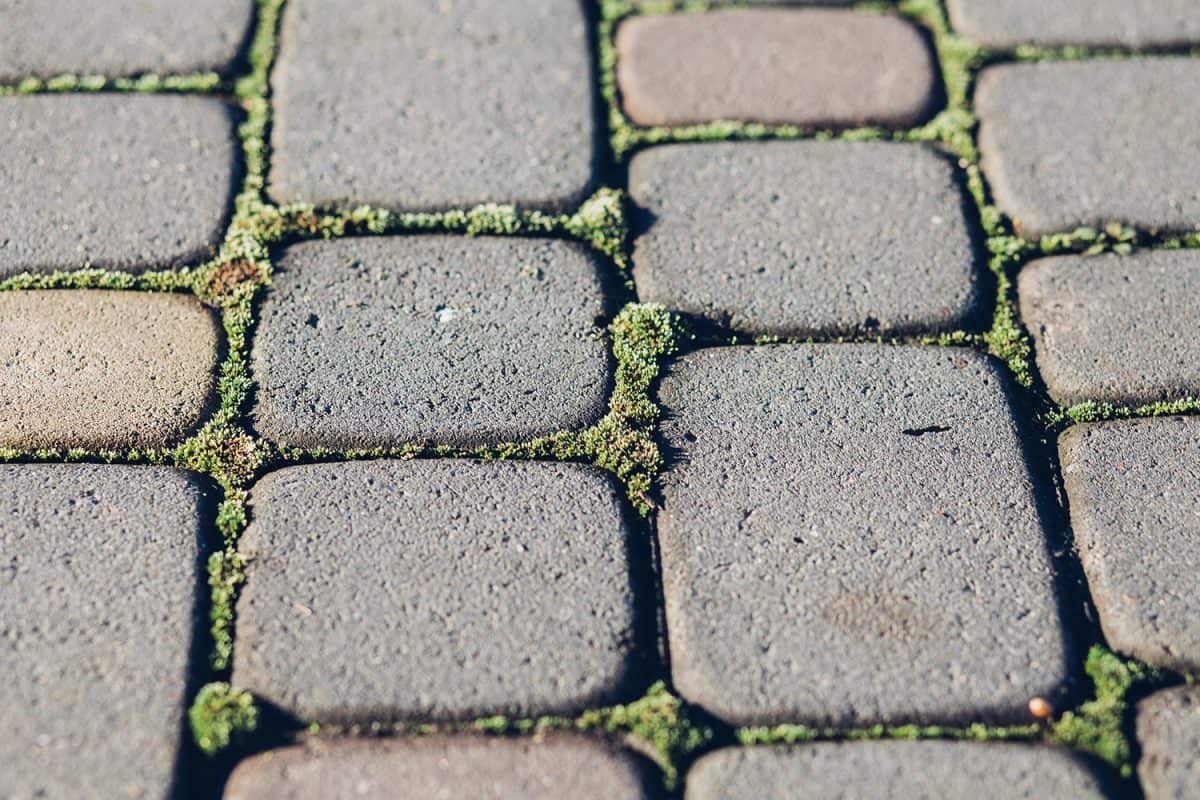
Pavers are stone objects typically used to create visually-pleasing pavements in homes and gardens. Growing moss between pavers can help support the structure on the ground and protect it from issues like erosion.
Unlike growing moss on rocks that typically needs a mixture of different ingredients, developing this plant between stone pavements generally doesn’t need that special slurry. Instead, you may only need to transplant existing moss to those gaps.
Also, remove the weeds from the space between the pavers. These pesky plants may prevent the moss from growing properly. If you have your moss ready, and you finished removing the weeds, continue with the rest of this operation:
Step-by-Step Guide
- Use a garden hose and wet the soil between the pavers.
- Transplant the moss in those spaces. Ensure that the moss is secure by stamping it down with your hands or feet.
- Water the moss every day for about 3 weeks.
Albeit it’s fairly easy to maintain moss, you shouldn’t stop caring for it. Therefore, you need to water these plants every day to ensure it doesn’t perish.
Also, you can find out more about pavers and their difference from driveways by reading our post on the subject.

![]()
Check out this preserved moss on Amazon.
Can Moss Harm You?
By itself, moss is a fairly harmless substance. Unlike mold, which is another moisture-loving matter, moss doesn’t produce harmful fumes or spores. Moss also doesn’t develop irritants or toxins.
Final Words
Grow moss on rocky formations in your garden by applying a mixture of different ingredients. Some of the components you need to create this moss-growing solution are yogurt, milk, and moss. Although it can take a few weeks before moss starts to grow on your garden rocks, the benefits received will be worth the extra effort.
![Vibrant Red Paver Stone Path, Can You Spray Paver Sealer? [How To Apply It]](https://pavingplatform.com/wp-content/uploads/2022/04/Vibrant-Red-Paver-Stone-Path-600x400.jpg)
![Properly laid out red pavers for a garden, Can You Tint Paver Sealer? [And How To]](https://pavingplatform.com/wp-content/uploads/2022/04/Properly-laid-out-red-pavers-for-a-garden-600x400.jpg)