Disclosure: We may get commissions for purchases made through links in this post.
You may be planning to have a broom finish on your concrete. And if you are, you're likely wondering about the pros and cons of doing so. But wonder no more, as we have asked the experts and have the answer for you.
Pros:
- Cost effective
- Uncomplicated to make
- Durable
- Slip resistant
Cons:
- Color variations may happen
- Can be too rough for your feet
- Not as appealing as other finishes
- May trap dust, dirt, and debris
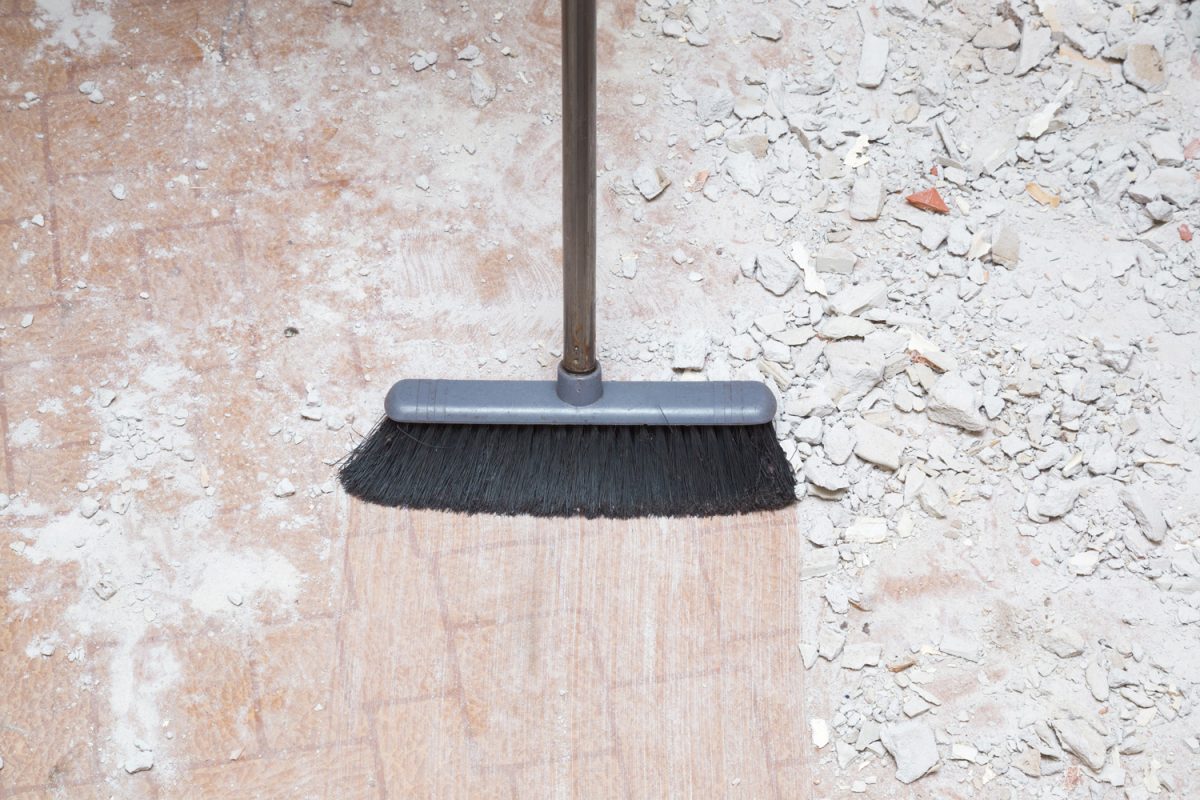
This type of concrete finishing is well known for pathways, driveways, and many more areas. But there are so many things that you still might not know about concrete with a broom finish. In this post, we'll discuss the topic in more detail. We suggest you keep reading for more information!
When to start the broom finish process
Finding the proper timing of doing a broom finish can be a bit critical. When you are too early to brush the concrete surface, expect it to be weak. And when you brush it too late, the surface won't have enough texture.
The perfect time to do the broom brushing is when the concrete is still soft, but just right after the bleed water or moisture has evaporated. It can take 20 minutes up to four hours.
When you plan to do it all by yourself, make sure to do it properly and carefully. However, if you don't want to exert effort and sweat, you can hire a contractor to do it for you. They know when to start brooming the concrete. Two of their tricks to determining this are:
- The feel when the broom is being stroked and pulled accross the concrete surface.
- When you lay one finger on the concrete and it doesn't leave a mark.
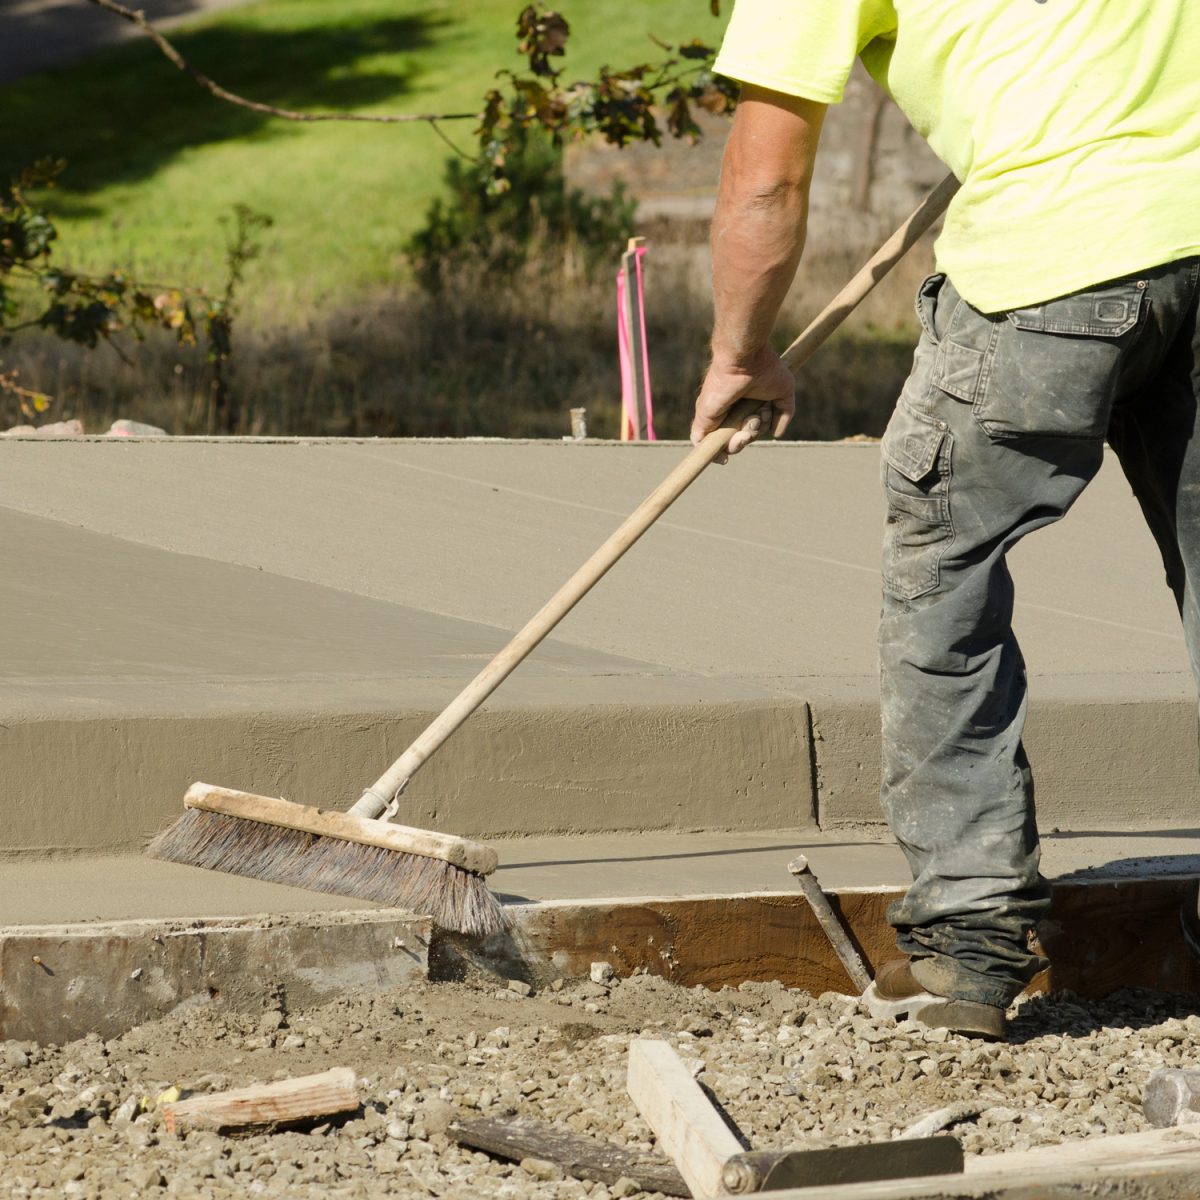
How To Broom Finish Concrete
Follow the bulleted steps below if you have decided to do the broom finishing process yourself.
- Pour the concrete mix on the area you want to construct.
- After pouring the concrete mix, you will need to strike it off with a screed.


Check this Concrete Screed on Amazon.
- Use the bull float to set the large aggregate particles immediately after the strike off and eliminate the low and high spots on the concrete.


Check this Bull Float on Amazon.
- Wait for the bleed water to dissipate.
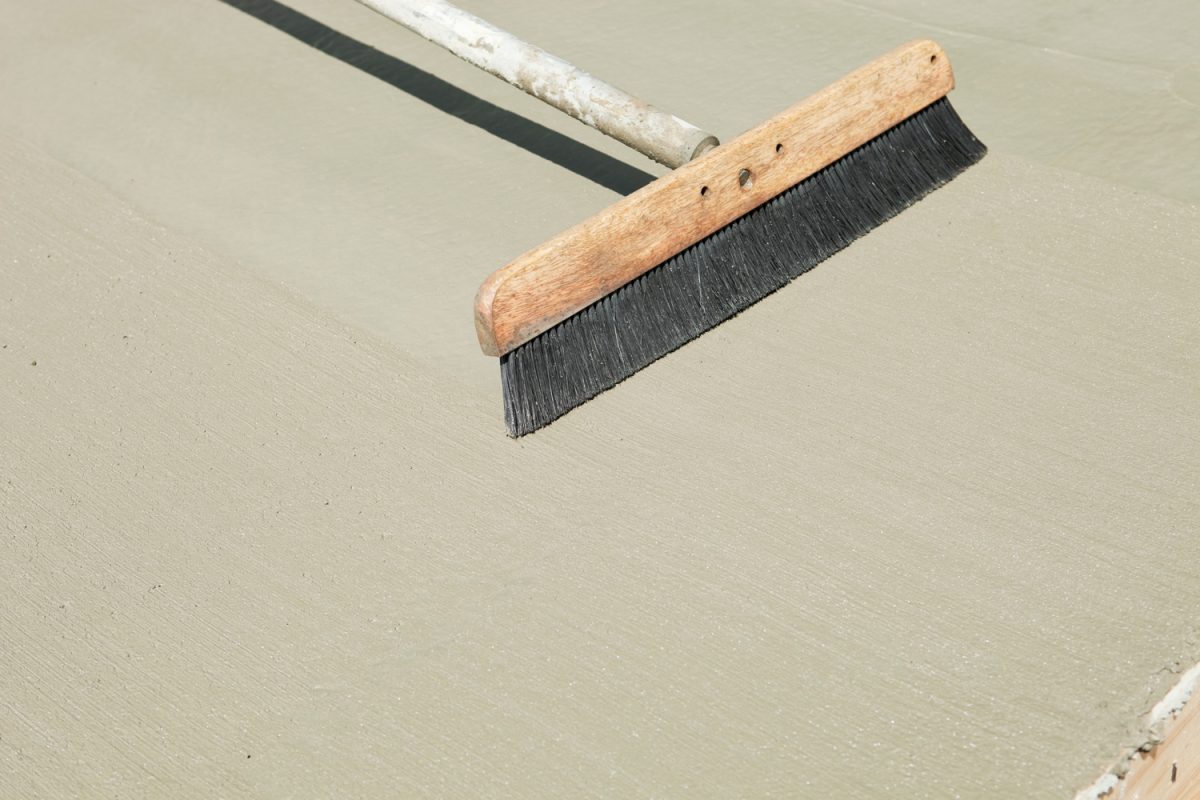
- Trowel the concrete surface to get rid of the bull floats lines. However, try not to overdo troweling the surface and work some of the air out. The recommended trowelling is twice before you start brooming the concrete. Don't trowel the surface too hard since it will be difficult to get the right brooming texture.


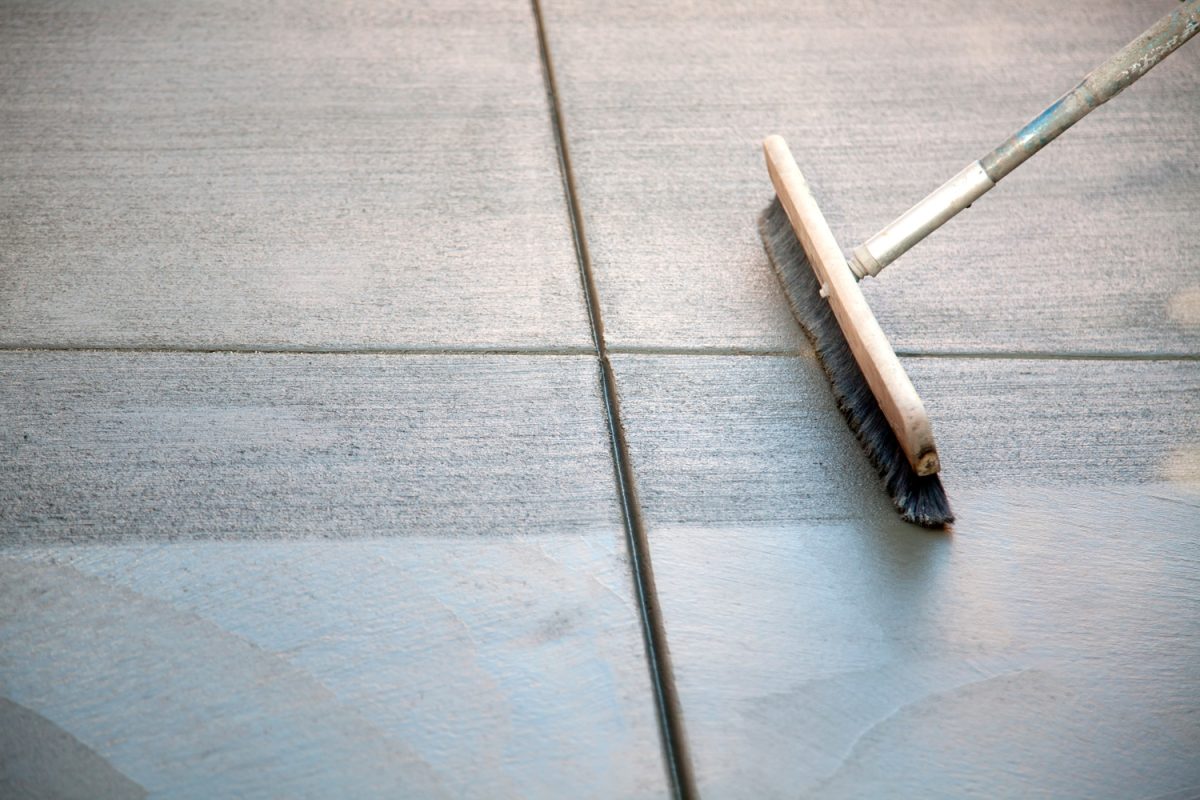
- Broom the concrete surface. Make sure that you run the broom just as the same direction where the drain points. Another thing to remember is that a broom finished concrete has the same durability as the smooth finish slabs.
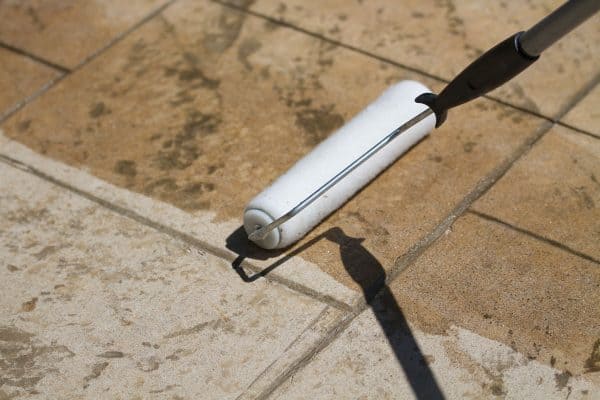
- Allow plenty of time to properly cure the concrete. Cure your broom finished concrete using a polyethylene sheeting, or use a spray that is intended for curing.
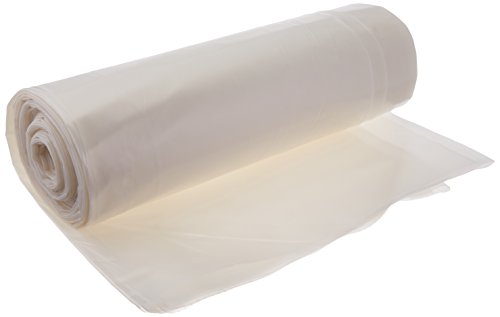

Check this Polyethylene Sheeting on Amazon.
Concrete Broom Basics
Concrete brooms vary in so many factors. They come in different sizes, widths, and materials used to make them.
The block holding the bristles, for example, are made from aluminum, plastic, or wood. Brooms can often be wet, and having a block that is made from plastic won't warp or rot. Moreover, broom bristles are usually polypropylene, nylon, or horsehair. They vary in size and stiffness to create different textures. Wire combs, however, are available to develop tined finishes if you want one with extreme textures.
Concrete brooms are either with or without handles. The process of a broom without a handle needs a rope to pull from side to side. A handle-less broom is also called a rope brush.
How To Avoid Disputes Over Broom Finish Concrete
So many exterior surfaces require slip-resistant concrete, including ramps, slabs, walkways, steps, and most especially driveways that contractors make. Construction conflicts between job owners and architects cannot be avoided; that is why there are existing best practices to follow.
Brooming Best Practices
Check out these best practices to achieve the best result and avoid issues!
Check The Surface For Readiness
Use the finger test to calculate the readiness of the concrete's surface. As mentioned earlier in this article, if the finger doesn't leave an imprint, it is ready for the brooming process. Additionally, the weather and setting features of the concrete are significant factors in controlling its solidification and can also help determine when to start brooming.
Wait For The Right Timing
Do not start brooming too soon or too late, as it will mess up the entire concrete's surface. And as you wait for the surface to harden, watch out for moisture loss. Or else, plastic shrinkage cracks may happen, and if the concrete surface overdries, it won't be easy to achieve the right broom finish.
Wet The Broom Brush
If you find the concrete ready for brooming, start the process by wetting the broom a bit and carefully placing it on the far edge of the surface for you to pull it towards you. Take note that you cannot broom the surface if there is still bleed water. If possible, remove it using a compressor hose.
Dampening the broom before putting it on the concrete can help moisten the surface since the bristles can absorb moisture from the concrete. However, don't wet it too much since it can cause discolorations and surface weakening.
Consistency In Brooming
Pulling the broom should always be steady and with the same speed for the entire process. Allow the next pass to overpass the previous one slightly. Remember always to pull the broom, and don't ever try to push it if you don't want to mess it up.
Clean The Bristles
To make the concrete uniform and appealing to the eyes, you should keep the broom's bristles clean or free from build-ups before putting it again on the next pass. You can wipe it using your gloves or shake it after each pull. Or, if you are too meticulous, you can frequently rinse the bristles.
Three Categories of Broom Finish
Generally, there are three categories of broom finishing or groove depths as per the American Concrete Institute [ACI].
1. Fine Broom Finish
This first category of broom finish measures less than 1/32 inch in groove depth. It is also known as the light broom finish. Contractors create this using a broom with a soft or horsehair bristle.

![]()
Check this Horse Hair Broom on Amazon.
2. Medium Broom Finish
This one has a groove depth of 1/32 to 3/64 inches. You can produce this groove depth using either a horsehair finishing broom or synthetic bristle.
3. Heavy Broom Finish
This last category of broom finish can be created using a finishing broom with stiff bristles since the more rigid the bristles are, the deeper grooves will be made. It measures between 3/64 to 1/8 inch groove depth.
The American Concrete Institute's 310R-13 Guide to Decorative Concrete provided the above measurements of groove depth.
Broom Finish Concrete's Result May Vary
Many factors contribute to your broom finish concrete's appearance and overall result. The most common are groove depth, the broom's bristle type, the pressure used in brooming, wetness, and timing. Even the relative humidity, wind, solar intensity, and the batch variations of concrete mix you are using can also be one of those numerous factors.
How To Stain Broom Finished Concrete
Staining the broom finished concrete can somehow change its appearance and vibe. It adds texture, color, and a fuller look. You can choose from different types of stains in the market, including solvent-based, water-based, and acid-based paints. The most recommended stain types to use for the broom finished concrete is acid-based and solvent-based. Using the two will be most effective in absorbing, and it can last for about five years.
Before anything else, prepare the following materials:
- Long pants
- High pressure water
- Rubber boots
- Safety goggles
- Respirator or mask
- Brushes or paint rollers
- Non-muriatic acid floor cleaner
Step 1
The very first step would be cleaning the surface thoroughly. However, a newly installed concrete doesn't need cleaning since you can stain it after it dries. On the other hand, existing concrete needs cleaning to eliminate grease and grimes to achieve the best sealing finish.
We suggest you read and follow the manufacturer's instructions regarding the usage of the cleaning solution. In addition, contractors recommend not using a muriatic acid cleaner since it will prevent the acid-based paint from setting on your concrete.
Step 2
Allow the cement to dry thoroughly.
Step 3
Stains can give hazardous fumes; that is why you need to put on your goggles, respirator, long pants, and rubber boots to protect yourself from them.
Step 4
Follow the manufacturer's instructions in preparing the stains. Then apply it using a brush roller in even strokes. Make sure you get to stain all the grooves.
Step 5
Let the stain cure for about five to seven days, depending on the manufacturer's instructions.
In Summary
It is an excellent thing that the pros of having a broom finish concrete outweigh its cons. And now that you know them, you might want to consider making one for your next project.
If you need help with your other paving projects, check these out!
![Vibrant Red Paver Stone Path, Can You Spray Paver Sealer? [How To Apply It]](https://pavingplatform.com/wp-content/uploads/2022/04/Vibrant-Red-Paver-Stone-Path-600x400.jpg)
![Properly laid out red pavers for a garden, Can You Tint Paver Sealer? [And How To]](https://pavingplatform.com/wp-content/uploads/2022/04/Properly-laid-out-red-pavers-for-a-garden-600x400.jpg)