Disclosure: We may get commissions for purchases made through links in this post.
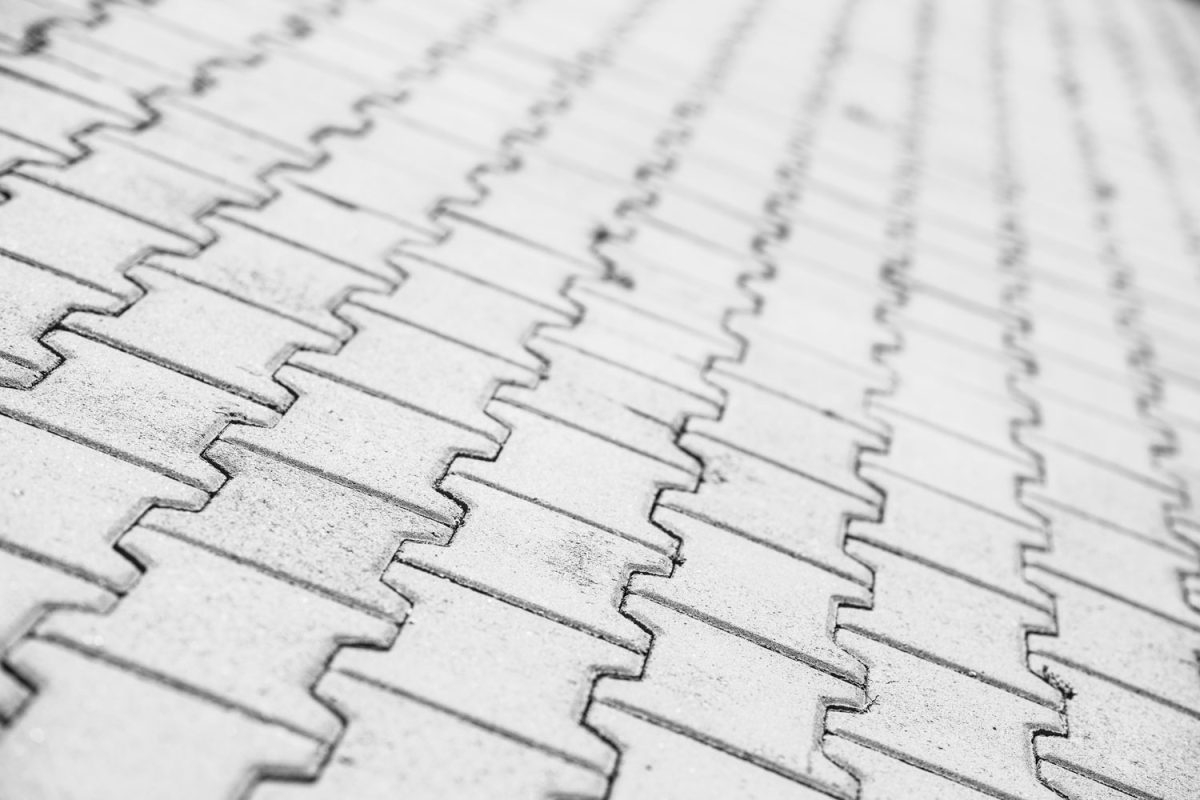
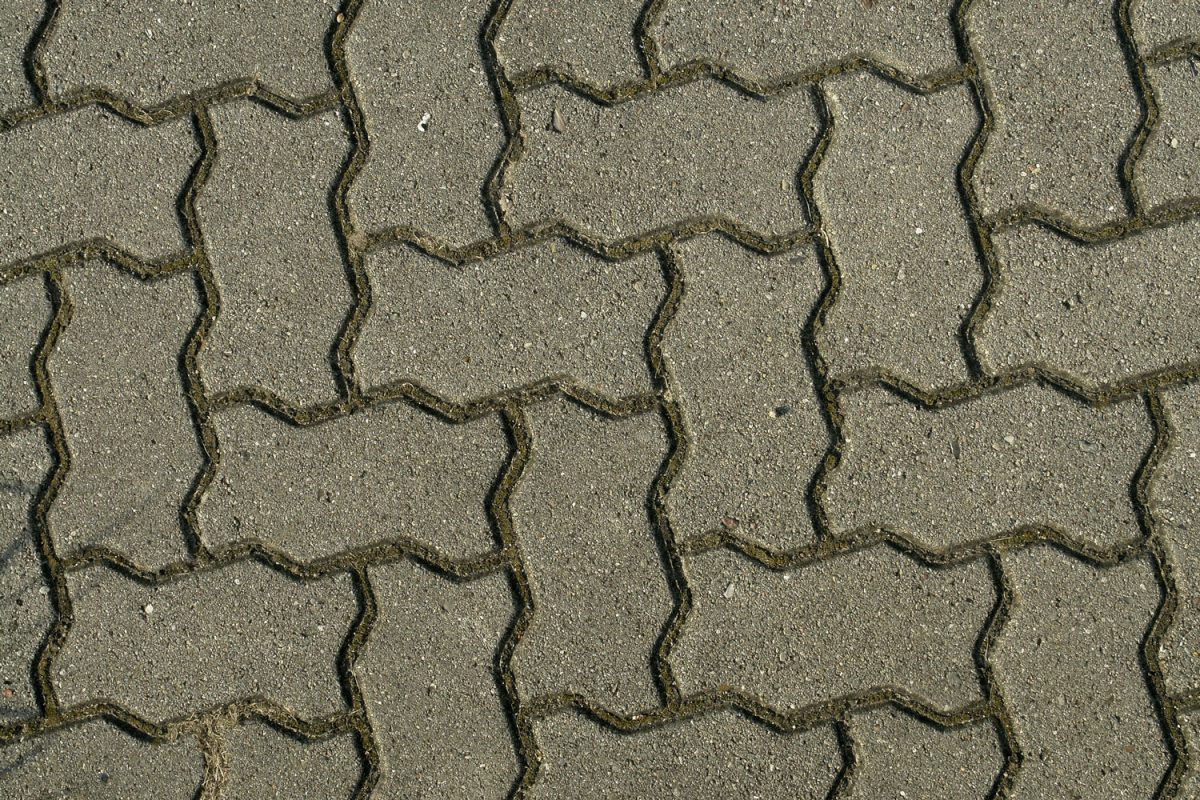
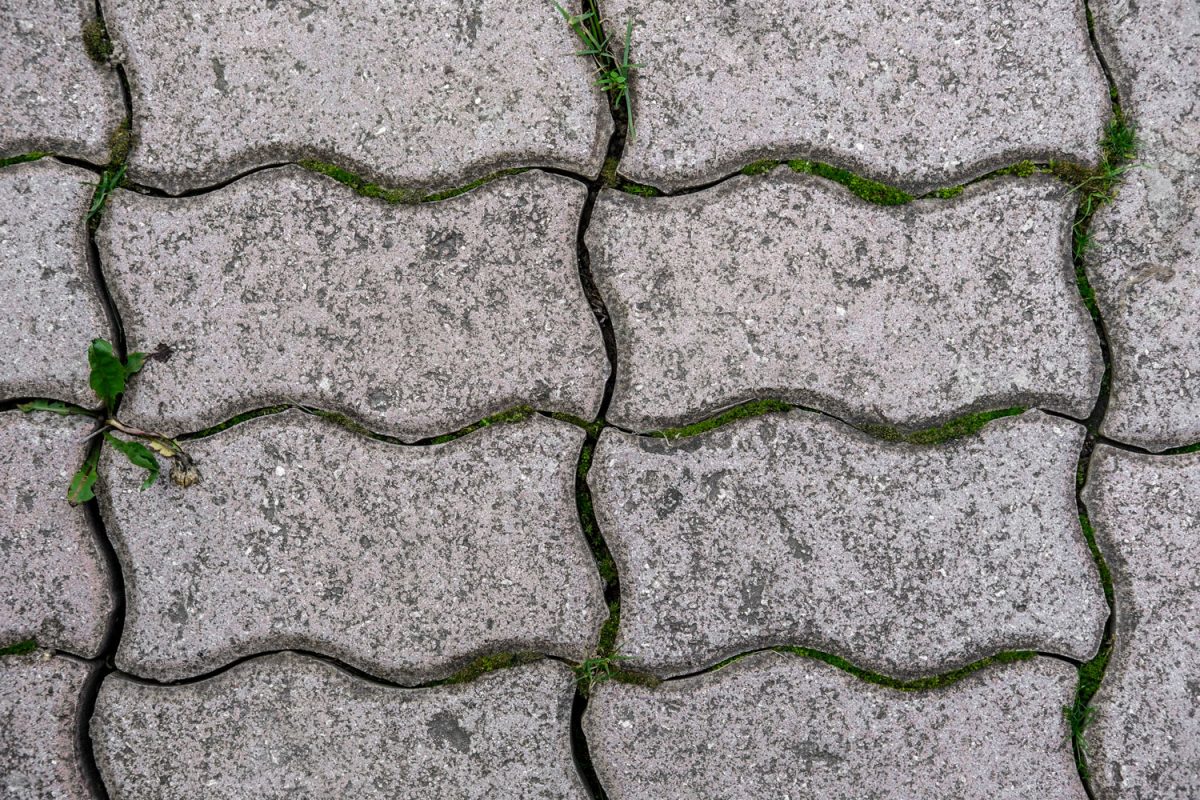
Interlocking pavers are made to withstand foot traffic, plus they have minimal water absorption than asphalt. It is one of the preferred types of pavers for homeowners. If you would like to install interlocking pavers, you might be wondering if the process is rigorous or easy, and can you even install it yourself? We have asked experienced contractors, and here is the answer they gave us.
Interlocking pavers are very easy to install and maintain. It doesn't require any expansion joints during installation, and if one of the pavers breaks, you only have to replace it while keeping the rest of your design intact. Interlocking pavers are aesthetically pleasing and are available in various colors, textures, and shapes, allowing you to create an infinite number of inventive designs that are easy to install following a few steps.
However, like with any hardscaping task, getting the correct information and procedure is essential. Read on as we explain how to ensure your pavers are installed correctly, whether you're building a new patio or driveway.
![Red and yellow colored interlocking pavers on the garden, Are Interlocking Pavers Easy To Install? [With Simple Steps To Lay Pavers]](https://pavingplatform.com/wp-content/uploads/2022/02/Are-Interlocking-Pavers-Easy-To-Install-With-Simple-Steps-To-Lay-Pavers-800x1200.png)
What is the Easiest Way to Lay Interlocking Pavers? - Simple Steps
If you don't have professional experience with laying interlocking pavers, following the step-by-step approach explained below will help you. The most straightforward approach is to ensure you get the suitable materials, consider safety, and build the base where the pavers are laid.
After building the base, add the sand base, layer your pavers, and tamp them down. Finally, you have to fill the spaces between pavers with sand and add a sealant to hold them together. Here is a more detailed instruction:
Building The Paver Base/Foundation
The first step to laying the pavers is to construct the paver foundation. You can do this by spreading a six-inch layer of gravel or crushed stone on top of your excavation area before beginning work. Use a landscaping rake to distribute the foundation material uniformly across the pavement surface. Wet the base material with a garden hose and then drive a plate compactor through it to compact it into a solid, level layer.
Constructing The Sand Base
After building the base, construct a sand bed on top of your base to protect it. You do this by adding a layer of paver sand to the paver foundation. Using a wooden plank, smooth up the sand layer to ensure it is flat.
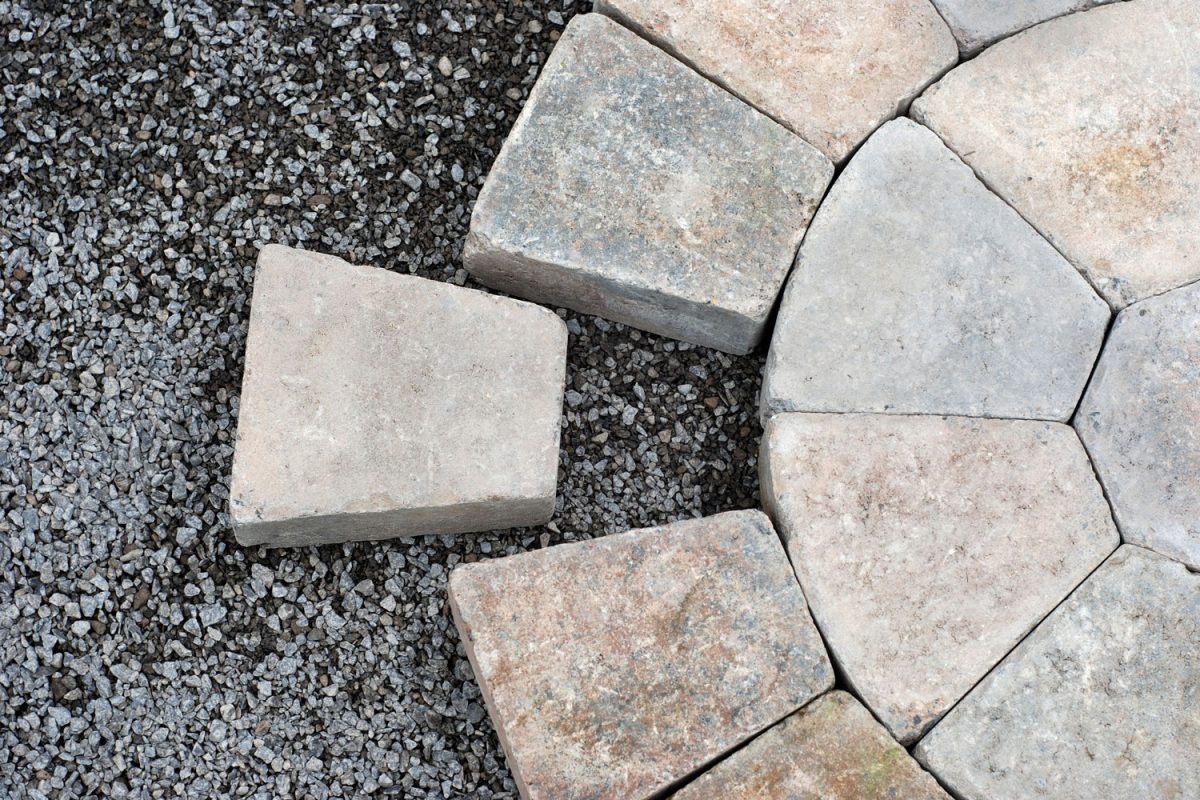
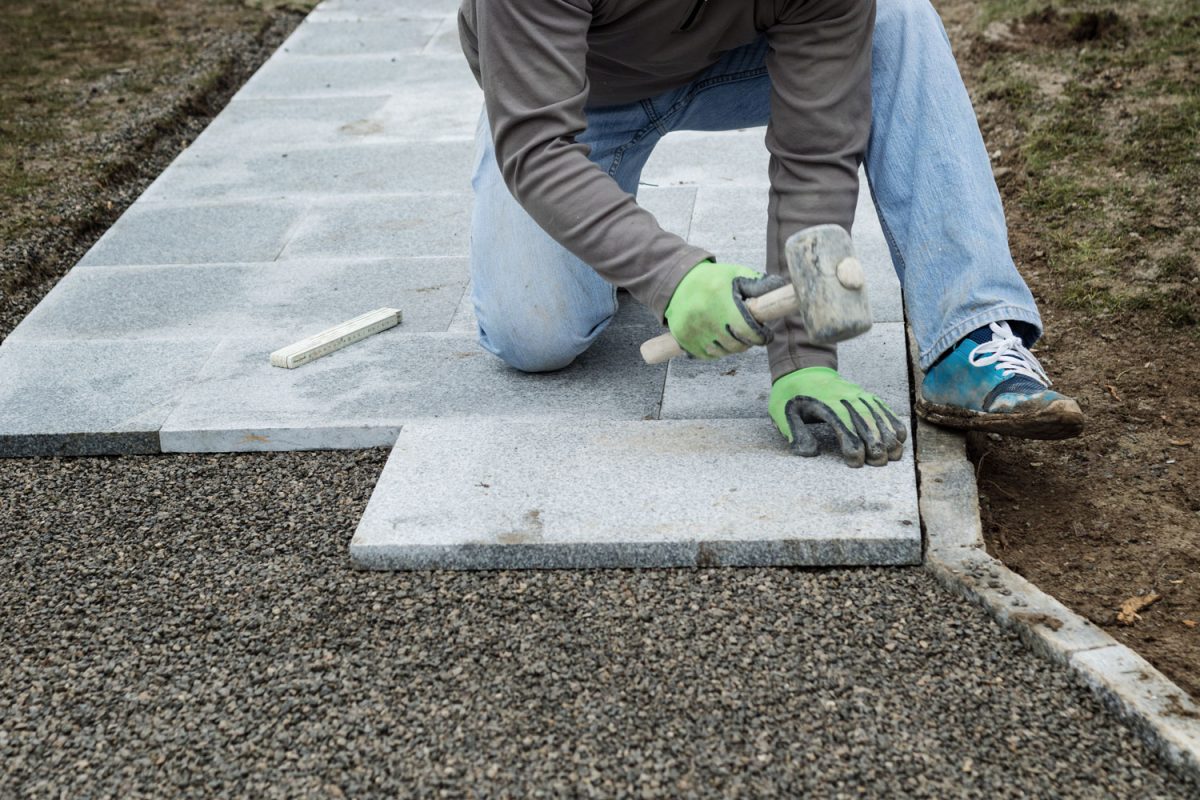
Paver Layering
Arrange the interlocking pavers on the ground and trim them to size as necessary. Begin by arranging the paver stones in the pattern of your choice. To fill in any gaps left along the side, use a masonry saw or circular saw to cut your paver stones. Remember always to wear protective gear such as gloves and safety glasses while cutting your pavers to ensure your safety.
Adding The Edge Restraints
Arrange the edge restraints around the space perimeter. Use concrete, mortar, or plastic paver edging to provide a straight edge for your pavers and keep them isolated from the dirt.
Tamping Down of The Pavers
Smooth out the newly installed pavers. Utilize your plate compactor to compact the pavers into the sand bed. After you're completed, your surface should be level.
Filling Up the Spaces Between Pavers With Sand
After laying the pavers, add a coat of polymeric sand to fill in the gaps between them. Sweep away any excess sand from the entire area with a broom.
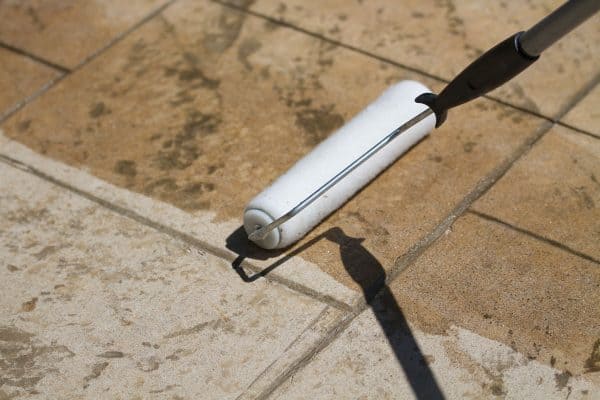
Adding Sealant
Use a sealant to protect your pavers. After you've finished filling in the gaps between the pavers with sand, apply a paver sealer to the surface to hold them in place and prevent them from slipping.
How Do You Prepare the Ground For Pavers?
Irrespective of the materials used in making pavers, they provide a durable foundation for any backyard hardscape design project. With time, the pavers might be worn and end up blending with the color of the soil or the garden's foliage. To avoid this, you must prepare the soil to provide a flat, durable platform for the pavers.
This article would enlighten you on how to stop weed growth on pavers.
Preparatory Steps
It is essential to note that pavers come in various shapes and sizes, so their thickness should be measured in inches. After measuring the inches, add extra 5 inches to the measurement. The resulting depth in inches is the depth to which you must dig.
A practical example: If your pavers are 3 inches thick, you must dig an 8-inch-deep hole before you can begin preparing the ground for paver installation.
Marking Out and Digging
Using chalk or rope, draw a line around the ground where you wish to place the pavers. Dig down to the depth calculated in the preparatory step using a garden shovel. You should make every attempt to maintain a straight, vertical, and consistent edge around your dig site.
Adding to the Base
Spread gravel or road base evenly throughout the dug ground. This not only creates a stable foundation for your pavers but also improves drainage beneath and around each paver. For better results, this gravel layer should be 3 inches thick. Rake the gravel to smooth it out and, if necessary, flatten it and compact the material with a tamping tool.
Covering the Gravel
Cover the gravel with landscaping fabric or weed cloth to protect it from serving as a mini-garden to weeds. Apply a layer of builders' or concrete sand over the landscaping fabric you use to cover the gravel. It helps maintain a level surface while also lowering the risk of paver breaking due to impact. A minimum of 2 inches of sand is required for the best results.
Finally, Place your pavers directly on top of the sand layer.
What is the Best Base for Interlocking Pavers?
If you want to create a sturdy foundation for your pavers and keep them in place for an extended period, you must choose the appropriate base material. Paver installers work with a range of different base materials, which include the following:
Option 1: Crushed Stone
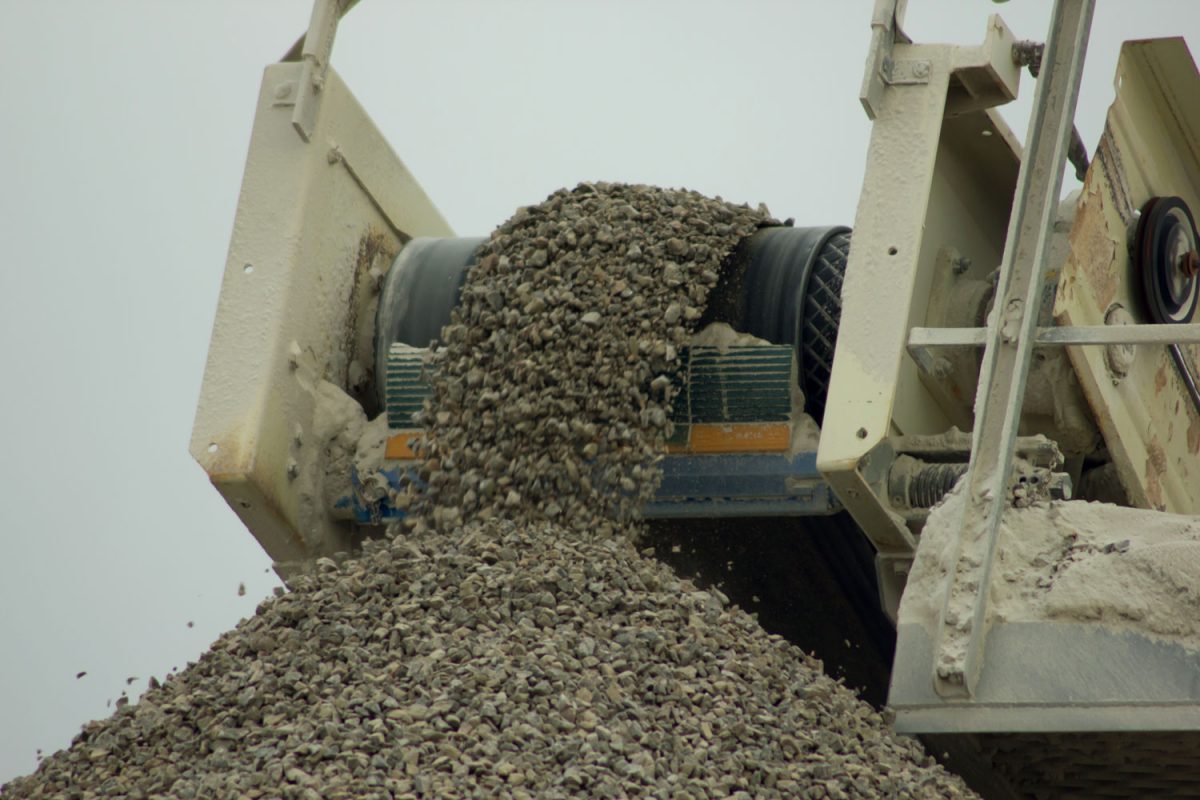
Crushed stone is one of the top options for the interlocking paver base, ideal if the patio is often used. While crushed stone is an excellent base material for all types of interlocking pavers, it is critical to choose the crushed stone that has been prepared explicitly for interlocking paver installation.
Option 2: Sand
The fact that sand allows for water to flow through it may make it an excellent foundation material for interlocking pavers. On the other hand, a sand base is only appropriate for pavers not exposed to too much foot traffic.
Option 3: Compacted Soil
Compacted dirt is an ideal alternative if you intend to build a patio. This is because pavers may shift or sink if the soil is not compacted correctly. Remember to clear weeds and grass before installation.
Option 4: Stone Dust
You should avoid using stone dust as a foundation material for various reasons. The primary issue with stone dust is its fine texture, making compacting difficult causing shifting and sinking. Depending on where you would like to install your interlocking pavers, you can choose from the options listed above.
Check out this article for more on using stone dust as both base and sealant for pavers.
How Deep Should I Dig For Pavers?
Before deciding on the depth of the paver base, you need to consider the type of stones and the type of sand or gravel laid beneath them. Ideally, pavers usually are 3 to 3.5 inches thick. As a result, you must excavate a paver patio base depth of roughly 9 inches (22.86 cm) to accommodate any style of paver. The hole will be filled to a depth of 5 inches (12.7 cm) with sand or gravel.
Consolidate the soil in the hole following the trench excavation for the pavers before filling it with the gravel foundation. To make compaction easy, gravel should be spread in layers and moistened. Sand and pavers should be added to the trench until roughly 3.5 inches (8.89 cm) of space remains for the pavers and sand.
To aid in compacting the gravel, spread approximately 2 inches (5.08 cm) of sand on top. Continue to fill the trench with sand until all holes in the gravel are filled and there is a flat surface. Note: a slight drop that allows drainage will be ideal for leveling it for easy drainage.
To Wrap Up

Laying pavers can be easy and complex, depending on your approach if you follow the proper steps. Additionally, laying your pavers yourself will require you to rent materials you might not need to keep forever, so keep that in mind while budgeting.
To avoid washout, ensure that drainage from the house, rain gutters, and patio roof is directed away from the pavers. A variety of home improvement stores sell paver patio kits. All of the supplies you'll need to build a patio of a specified size and style will be included in these kits.
![Vibrant Red Paver Stone Path, Can You Spray Paver Sealer? [How To Apply It]](https://pavingplatform.com/wp-content/uploads/2022/04/Vibrant-Red-Paver-Stone-Path-600x400.jpg)
![Properly laid out red pavers for a garden, Can You Tint Paver Sealer? [And How To]](https://pavingplatform.com/wp-content/uploads/2022/04/Properly-laid-out-red-pavers-for-a-garden-600x400.jpg)